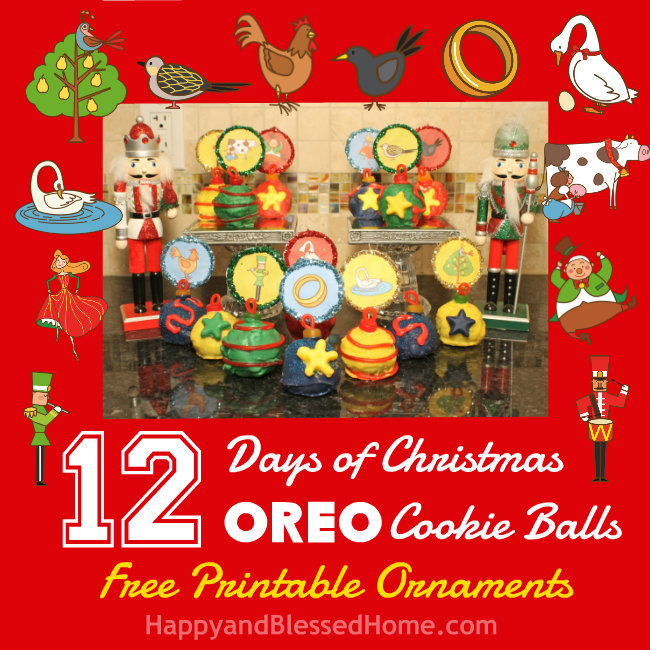
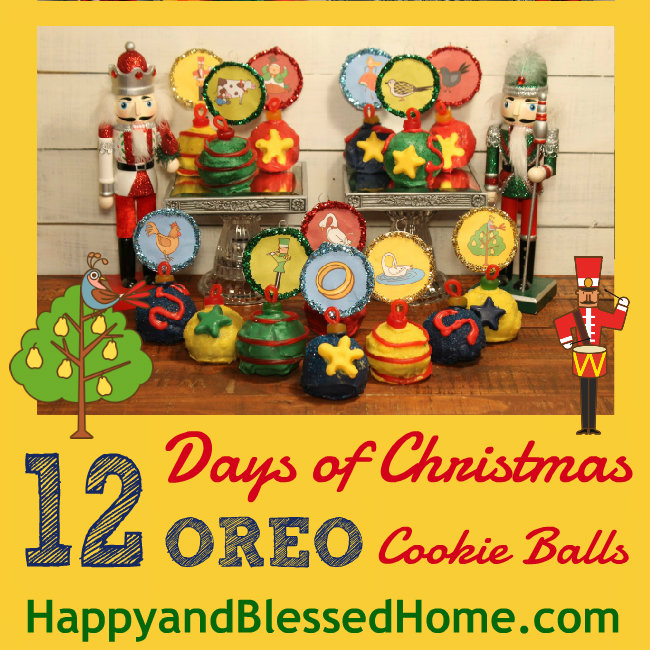
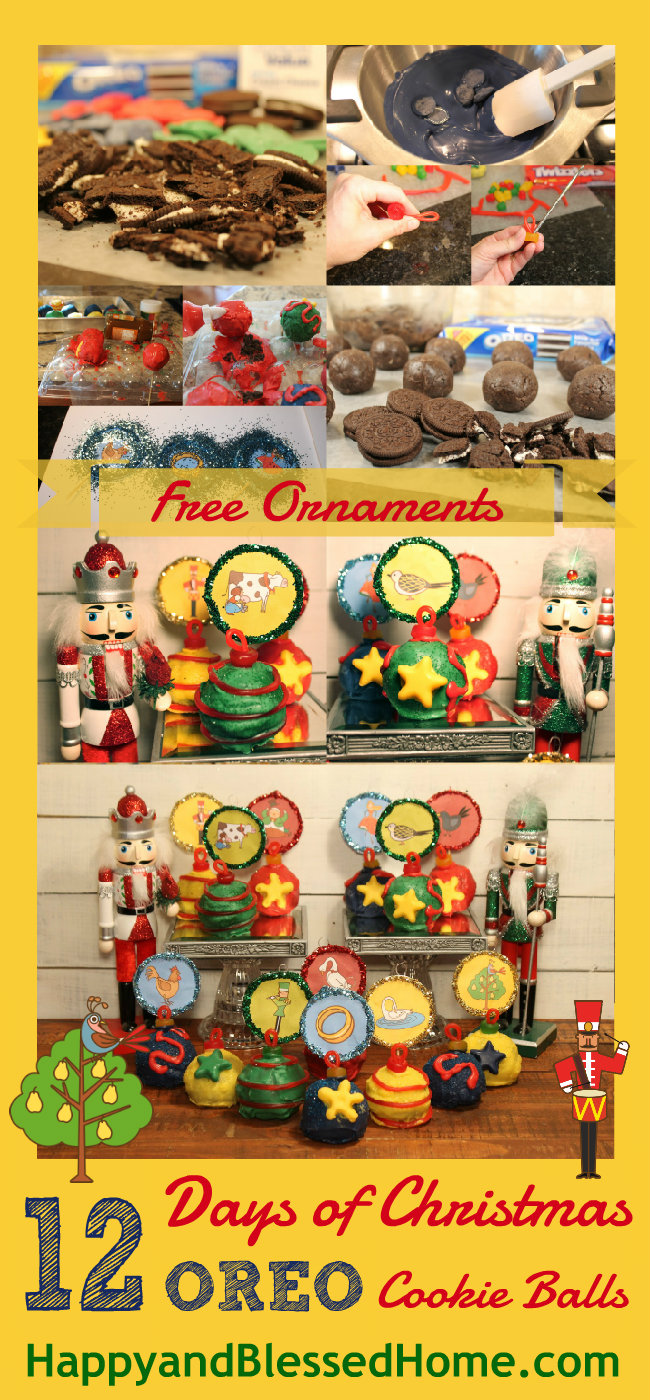
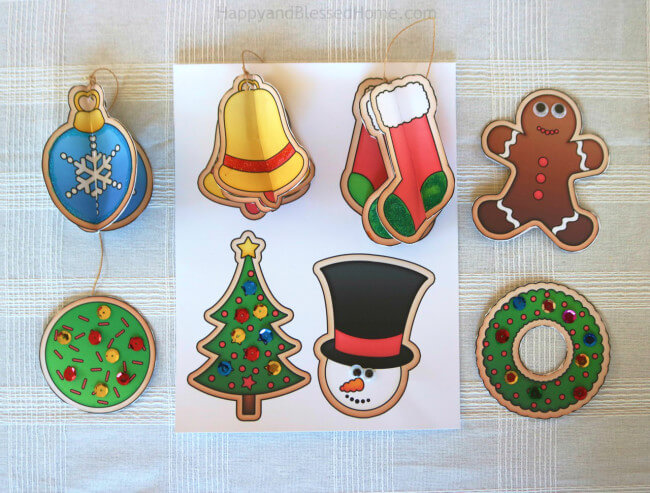
This tutorial will help you create edible Christmas ornaments from OREO Cookie Balls. It includes 12 free printable Christmas ornaments based on the song “The 12 Days of Christmas.” Create memorable Christmas crafts or an entirely edible centerpiece with these printables and easy recipe.
One of my favorite songs about Christmas from my childhood is “The 12 Days of Christmas”. I was delighted to find some adorable Twelve Days of Christmas artwork, and I used the artwork to create some beautiful free printable Christmas ornaments for HappyandBlessedHome.com readers.
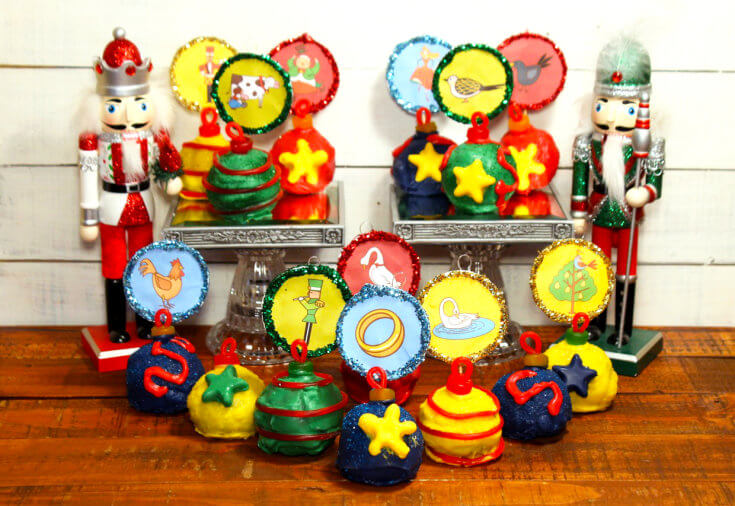
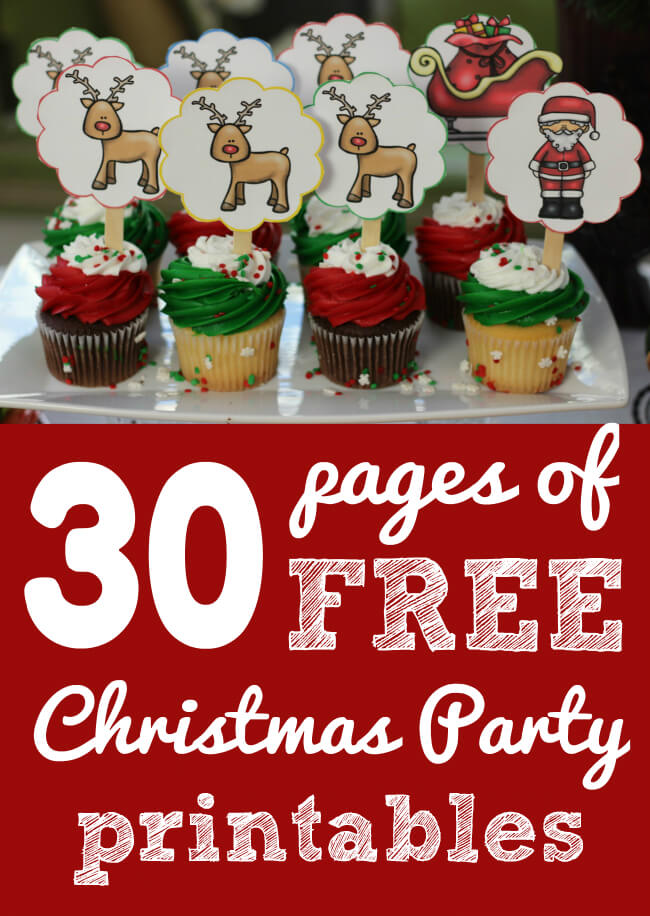
In addition, these ornaments can be used as cupcake toppers, to decorate cake pops, or to create the perfect edible gift for Christmas. I hope these printables and edible ornament recipe inspire you to create some holiday fun!
These OREO Cookie Balls are easy to make and fun to decorate. You only need a few ingredients and a little imagination #OREOCookieBalls. If you add glitter to the ornaments it makes them extra sparkly and my kids love glitter!
OREO Cookie Ball Recipe
-
Special Equipment
- Double boiler – to melt the chocolate without scorching it.
- Nut cracker pick (comes in a set) To assemble the ornament topper.
- Frosting dispenser To dispense chocolate in a controlled fashion.
- Cake pop stand – If you’d like a smooth finish.
- Candy melt molds – I used a star shaped candy mold.
- Food Processor – To make the cookies usable for this recipe.
-
Ingredients:
- 1 pkg (8 oz.) brick cream cheese, softened – I used 2 packages
- 36 OREO Cookies, finely crushed (about 3 cups) – I used the family size
- 4 pkg. (4 oz. each) semi-sweet baking chocolate, melted (or you can opt for colored chocolate-flavored candy melts as outlined below)
-
Add-on Ingredients to create colorful Christmas ornament-styled OREO Cookie Balls
- Choco Maker – One Pound in Dark Blue
- Choco Maker – One Pound in Red
- Wilton Candy Melts – 12 oz. in Green
- Wilton Candy Melts – 12 oz. in Yellow
- Vegetable Shortening (optional)
- Tootsie – DOTS Assorted Fruit Flavored Gumdrops
- Twizzlers Pull-n-Peel Candy in Cherry Flavor
Directions to create Christmas OREO Cookie Balls
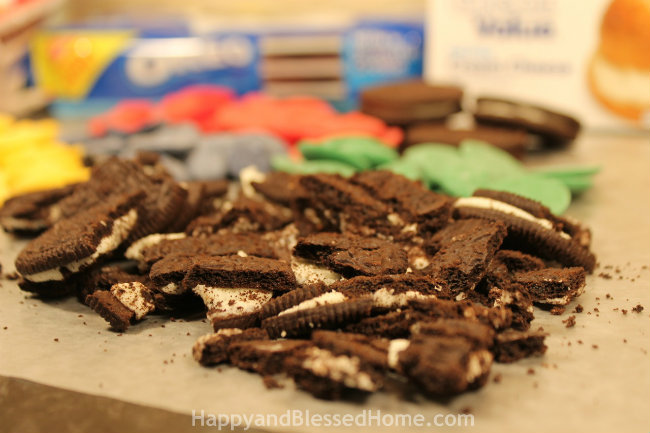
- Grind up cookies in a Food Processor – it will make about four cups of powdery mix that looks a bit like coffee grinds. Do not disassemble the cookie. Both the cream and hard cookie should be ground up in the food processor.
- Soften the cream cheese. You can microwave it to soften it or leave it out for an hour before you start this project.
- Mix the powdery cookie mix and cream cheese together.
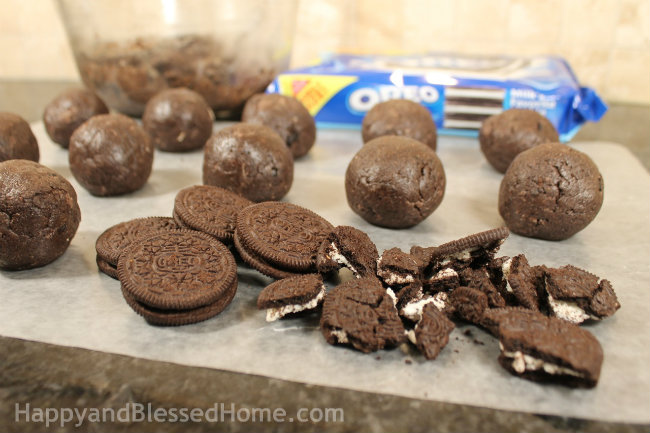
- Form OREO cookie balls from the creamy/powdery mix. For this recipe, my cookie balls were about 2 – 1/4 inches in diameter. My mix yielded 14 OREO cookie balls. I put my OREO cookie balls in the freezer for 45 minutes. If you try to coat them in chocolate before you cool the mix, the weight of the chocolate will cause your OREO cookie ball to fall apart. There is no need to rush to coat in chocolate. Use the time to make the paper ornaments or the ornament candy toppers.
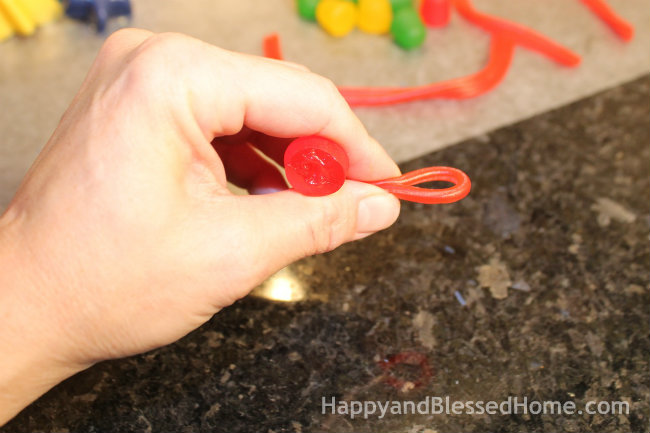 Create the candy topper for your ornaments. The top of the OREO cookie ball candy ornament is a piece of DOTS candy that has been trimmed. I cut the dome off the top. I then used a nut separator to poke a hole in the center of the candy. This nut separator also became a handy tool to help me thread a piece of licorice through the candy. Twizzlers makes a cherry flavored pull apart candy that is perfect for this task. Pinch the Twizzler tips together before threading it through. It makes the task a bit easier.
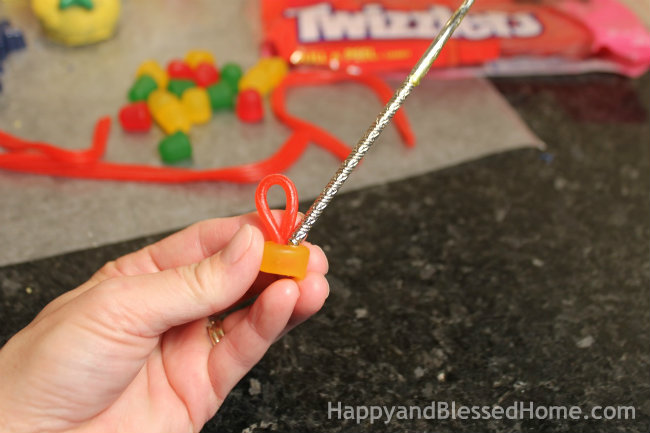 Thread Toppers and set aside. I used the nut seprator to stretch the hole I poked inside the DOTS candy. This made it easier to thread the licorice and trim to fit.
- Melt your chocolate. I highly recommend a Double Boiler. It will help you control the heat on your chocolate. If you need to, you can add one teaspoon at a time of vegetable shortening to the mix. I wouldn’t add more than two tablespoons. It will help you achieve a smoother viscosity in your chocolate. DO NOT add food coloring or water to the chocolate – it will cause the chocolate to seize up. It’s a bit like oil and water. If you clean your double boiler in-between chocolate colors, make sure to dry it throughly. Add any form of H2O to this mix and it will be ruined. Since I was using four different colors I had to budget more time for this project. It took me about 45 minutes for each color of holiday OREO cookie balls.
- Coat the OREO Cookie Balls in melted chocolate. By now your chocolate has melted and your OREO balls have been sitting in the freezer for 45 minutes or so. Now you can coat the OREO balls. I do not recommend rolling the balls in the chocolate. Instead, use a spoon or cupped spatula to pour chocolate onto the OREO Cookie Ball. A fork is effective at holding the cookie ball. Rotate the ball as you pour chocolate over it. I started with a fork but later switched to a thin skewer to hold the cookie ball.
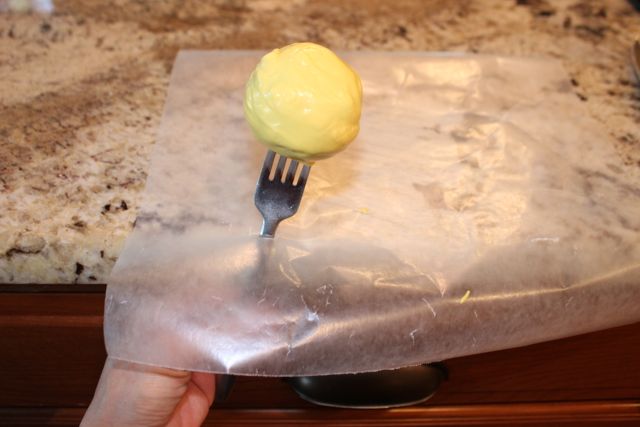
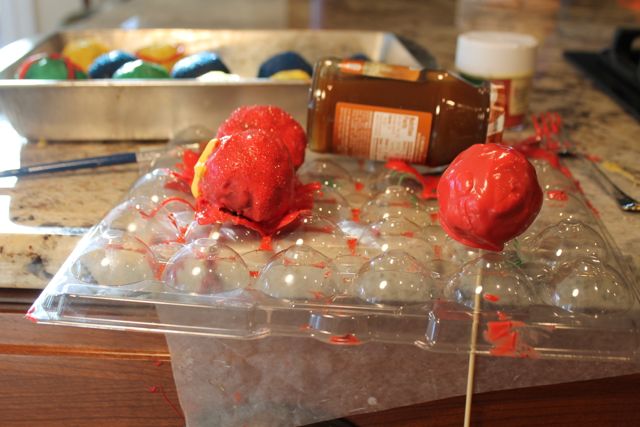
- Dry the Coated OREO Cookie Balls. Once coated, placing them to dry can be tricky. If you don’t mind an edge around the bottom you can try threading the fork through wax paper carefully off the edge of your counter – you’ll need both hands. I tried a few methods before I settled on using a plastic egg crate container. I poked holes in the top and used a skewer to spin each ball on over the stove. The whole process is quite messy if you do not own a Cake Pop StandDouble Boiler. As you can see here I used a full jar of carmel sauce to balance my plastic egg crate for my cookie balls. I used heavy duty kitchen scissors to cut the skewer once it was threaded through. I needed the end of the skewer to stay inside the cookie ball to hold it on the egg crate. The paint brush dipped in hot water came in handy for touch-ups.
- Add decorations. Sprinkles and licorice stripes have to be added while the chocolate coating is still hot, so make sure to apply them before it dries. If you add shaped candies those can be added later by melting the backside of the candy.
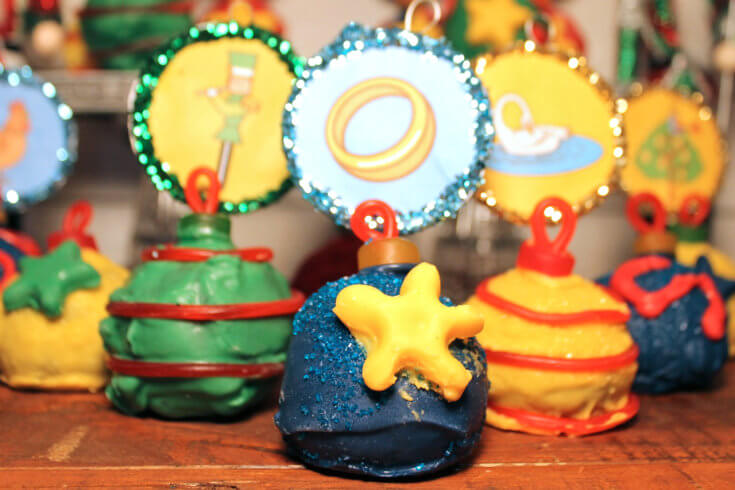
- Create Toppers. In between melting chocolate colors and threading candy, you can work on the paper ornaments. I trimmed each and used a clear stretchy jewlery making cord to create a loop at the top of each paper circle. When I glued the front and back sides together, I left space unglued to hold the toothpick. That way, it could be removed later, turning the OREO cookie ball/cupcake topper into an ornament.
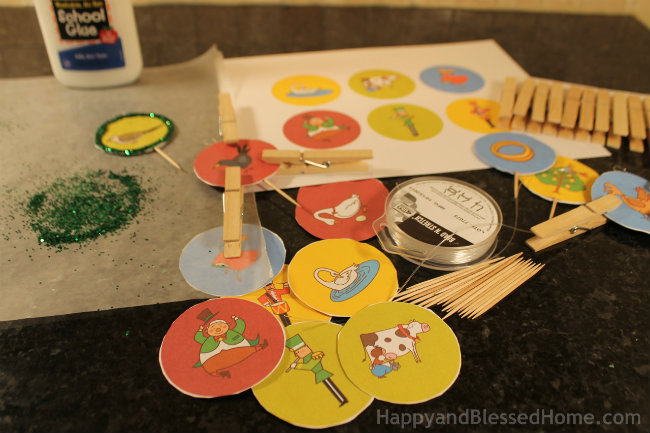 I love being able to give a gift that is dual purpose – one part to eat and the other to keep. I used clothespin holders to hold the edges of the paper circle together. They come in handy when you need more thumbs. Just a touch of glue around the edges and a sprinkle of glitter and voila – you have old-fashioned Christmas ornaments! Thanks for joining us at HappyandBlessedHome.com.
To download your FREE Printable 12 Days of Christmas Ornaments, just click the link here:
Download the FREE Printable 12 Days of Christmas Ornaments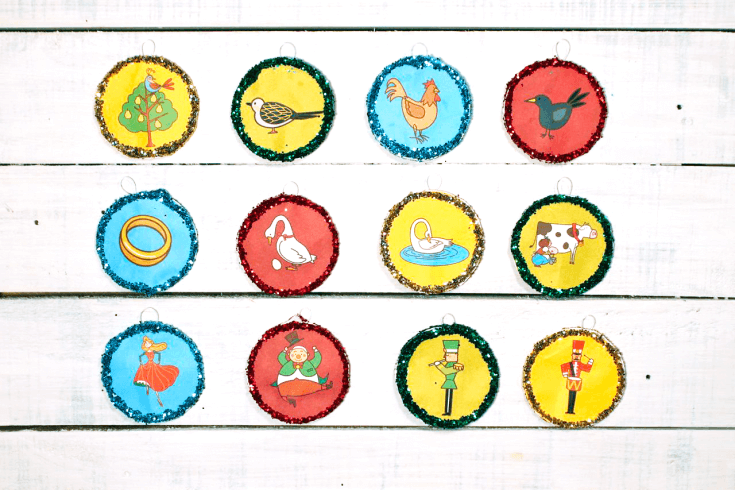
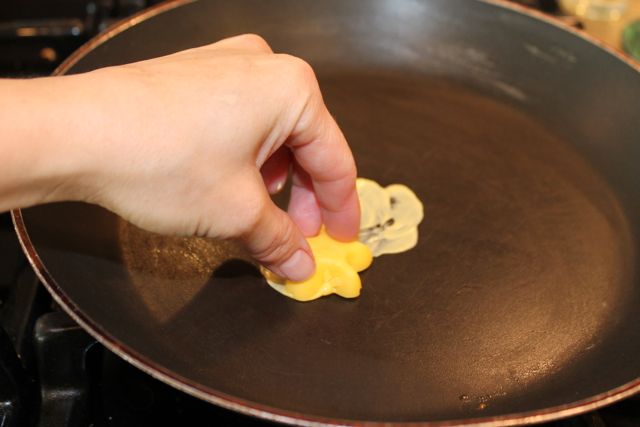
- Apply Embellishments. All of the OREO cookie balls will dry within an hour. To decorate with shapes I’d taken spare chocolate and poured it into molds to make flower and star shapes. To apply them to the OREO cookie balls, I heated up a pan and rubbed the sticky side of the shape against the pan to melt one side of the chocolate. Then, with some chocolate scooped up from the pan I would apply the melted chocolate to the OREO cookie ball to get it to stick, I used the same technique to apply the topper candy. This candy is applied directly to the surface of a pan so it doesn’t need to be hot – heat your pan on LOW. Be extremely careful if you’re using your hands. Just a touch of leftover chocolate on the pan was applied to each candy topper to add it to the OREO cookie ball.
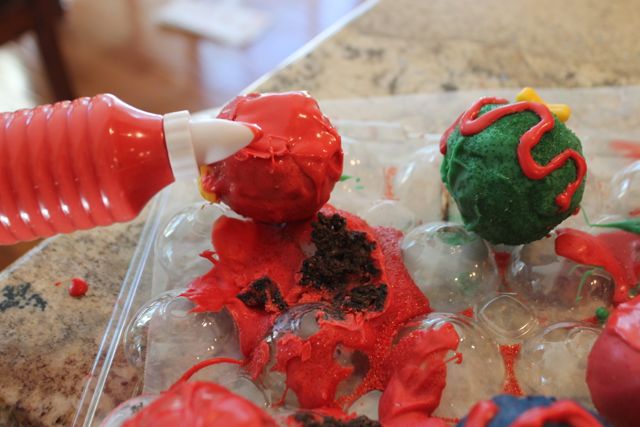
- Add your Final Chocolate Touches. I used a icing applicator to apply touch ups where needed. When one of my OREO cookie balls came apart as I dislodged it from the plastic egg crate, I repaired it and topped it with red chocolate using an frosting dispenser.
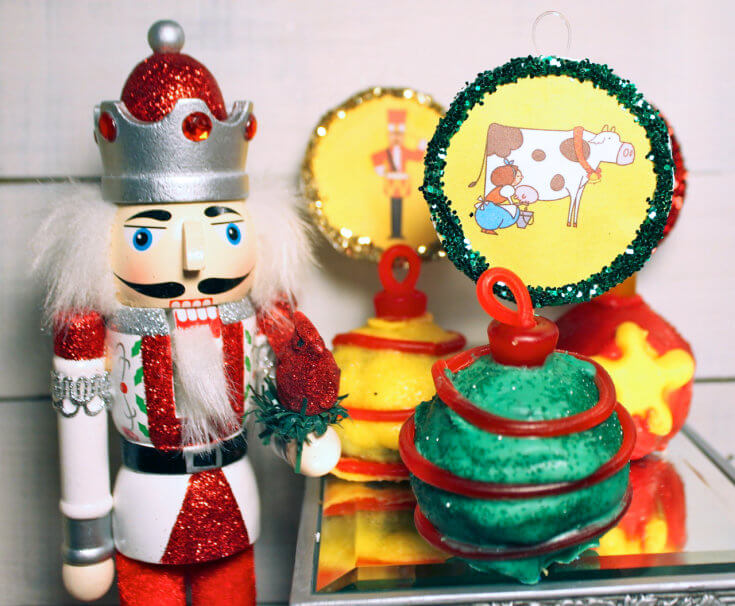
- Add OREO Cookie Ball Toppers. I topped each of my OREO Cookie Balls with my Christmas ornament toppers. These can be used as cupcake toppers, cake pop toppers, or as ornaments. See all the sparkly glitter? My kids love that part!
We’ll be giving these as gifts to friends and family this Christmas. 🙂
Thanks for joining us at HappyandBlessedHome.com. To download your FREE Printable 12 Days of Christmas Ornaments, just click the link here:
Download the FREE Printable 12 Days of Christmas Ornaments

More Family Fun Ideas for Christmas
Speaking of Christmas, I have some wonderful activities for creating memorable family-fun over the Christmas holidays.
 |
 |
 |
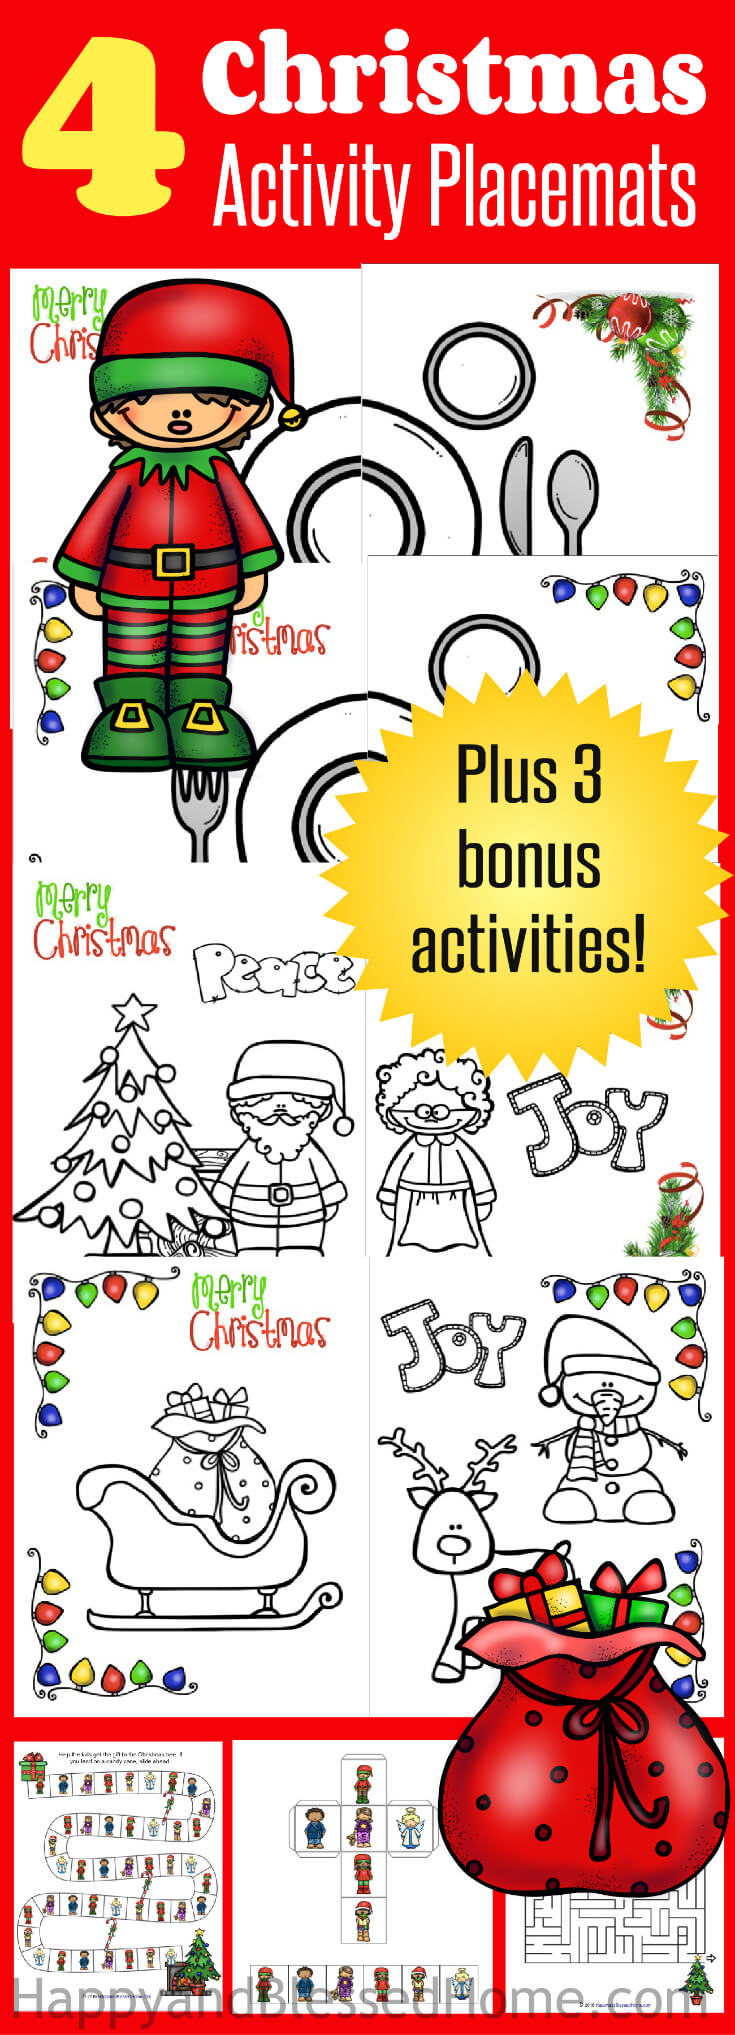
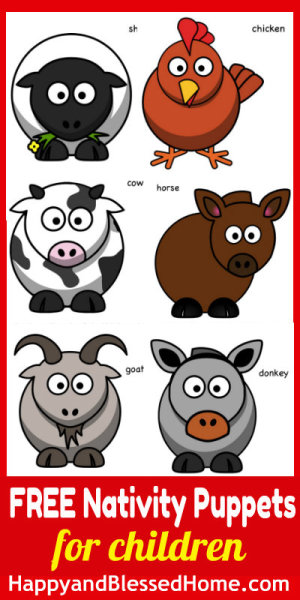
- Download and create your very own FREE Printable Nativity Puppets – wonderful animated story time fun for the whole family
- Follow my easy recipe to create your own Kid Fun Christmas Cookies – great cut-out sugar cookie recipe
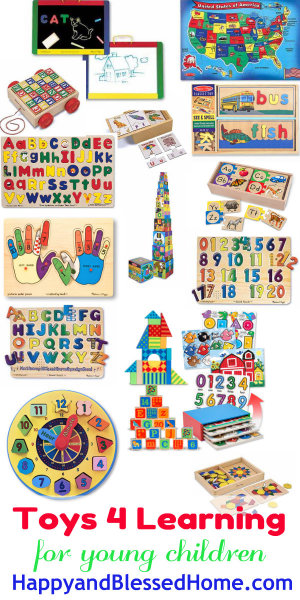
- Want to replace useless toys with toys that are great for learning? Read how one toy-maker totally made our family’s Christmas (it’s a true story).
What fun things do you like to create over the holidays? Please share by leaving a comment. I love hearing from my readers!
Happy Holidays!
Blog / Facebook / Pinterest / Twitter /Google + / Bloglovin’/ Instagram
This post was previously compensated by Collective Bias, Inc. and its advertiser. All opinions are mine alone. You can find more delicious recipes at: Oreo Cookie Balls.
FUN Pinnable Image – Share the love on Pinterest!


