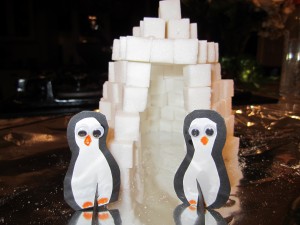
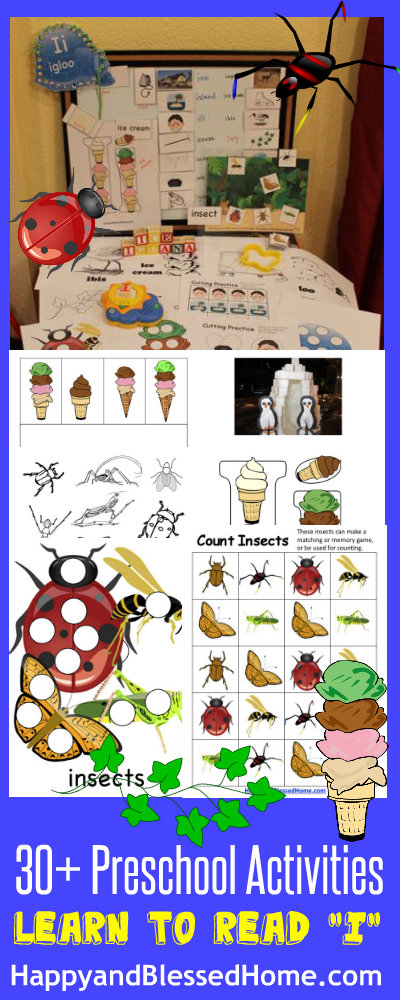
Building with blocks is a great way to build fine and gross motor skills as well as foster imagination. For our study on the letter “I”, we made a preschool craft – an igloo out of sugar cubes.
Peanut was pretty excited about the igloo. The thing that excited him the most- taking it apart! Click this link to watch the igloo deconstruction in a reader or you can watch it on the video embedded below.
To add to the cuteness I drew some shapes free-hand to create some small and large penguins for our igloo project. You can see the smaller penguins pictured with the igloo made of sugar cubes – since they were so small I decided we needed to make some larger ones so peanut could get in on putting some together. I pre-cut the shapes and let my little man glue the backside of the white shape to the black bowling pin shape to make the larger penguin. He is so excited about this project. He can’t wait to show daddy when he gets home.
To watch the penguin assembly in a reader click the link. Or you can watch it on my blog below.
Not wanting to miss out on any of the fun, Nugget watched from the floor as we deconstructed the igloo and glued together the penguins.
I’ve attached the pattern for both sizes of penguins here. We used card stock to make our penguins, but you could use any kind of paper.
Items Needed:
Penguins
- scissors
- colorful cardstock or construction paper
- glue
- google eyes
- orange marker
Igloo
- sugar cubes
- cookie tray
- aluminum foil
- cookie icing in white (or you can make your own using confectioner’s sugar and water)
Steps:
- Wrap a cookie sheet in aluminum foil for a clean floor for the igloo (makes clean up easier)
- Create a circle with an opening for the door on one side with the sugar cubes
- Stack the cubes to that each cube is supported by at least two cubes underneath it and gradually stack them so each layer has a slightly smaller circumference than the previous layer
- I managed to stack five layers to create the wall, you can stack as low or as high as you wish
5. For the roof use the icing as mortar and lay the sugar cubes in a brick pattern gluing each piece to all connecting sides – make sure your roof is large enough to completely cover the opening at the top of the circular wall
6. Once dried lay the roof on top of the opening and stack a few last cubes on top to polish off the “dome” appearance of the igloo
Steps for penguins:
- Cut the pattern from the guide: both sizes of penguins here
- Trace the patterns onto black and white card stock or construction paper – use the larger bowling pin shapes for the outer body and the narrower bowling pin shapes for the inner bodies of the penguins
- Glue the white shape into it’s matching larger black bowling pin shape
- Glue on google eyes (or you can draw eyes using a black marker)
- Using an orange marker draw a beak and feet on the white body of the penguin
- Two small half moons are included in the pattern to create stands for the smaller penguins – just cut a slit in the curved side of the moon and on the bottom of the small penguins to stand them up
Voila – you now have an icy igloo scene for your little one. Enjoy!
In His Grip,
Monica
For additional posts with advice on preschooler development and preschool crafts go to:
G is for Gift
H is for Horse
Parenting with Positive Discipline
Successful Preschooler
If you’d like some free printables for your preschooler please go to Free Stuff.
P.S. If you like my blog and the free printables, please like my Facebook page at: HappyAndBlessedHome – thanks so much!
