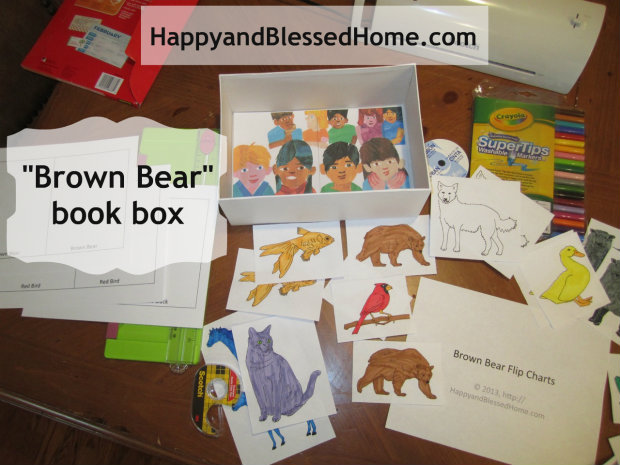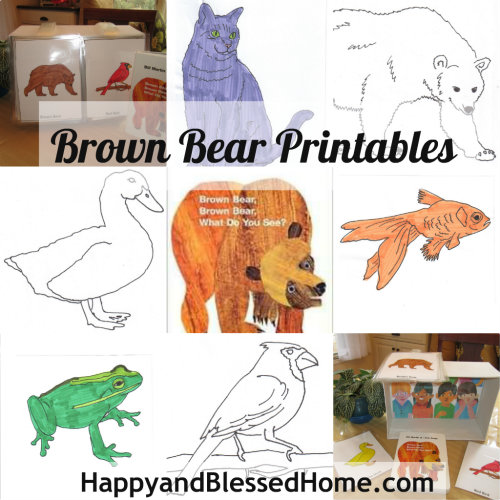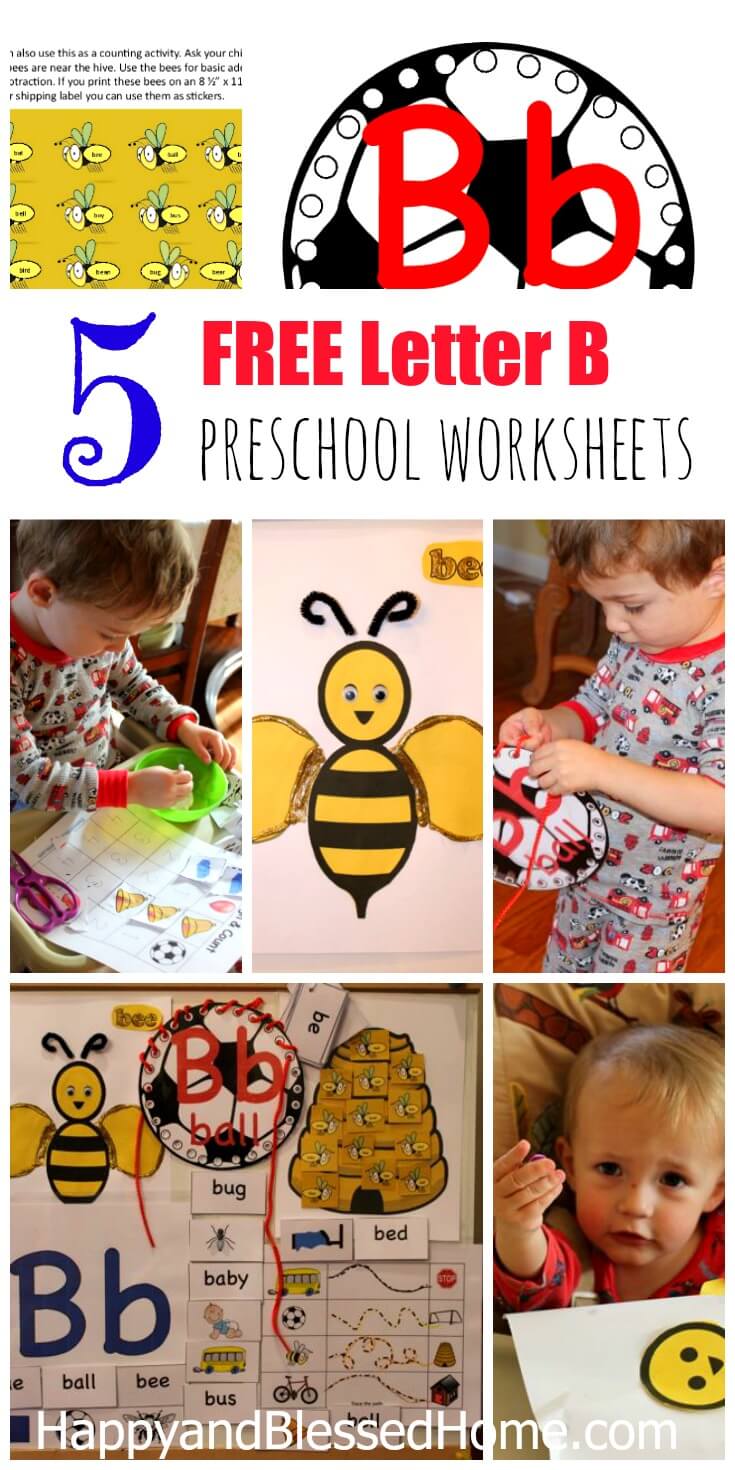
If you’ve been following my blog, then you know I’m creating some hand-illustrated alphabet printables for my preschooler. I was going to create and post some letter “B” printables but I’ve got something so much better! I was working on a bear and a bird and then… I created printables and a craft to make your own “book box” of the story “Brown Bear, Brown Bear, What Do You See?” at home. This book is one of the most popular books for children and a favorite in our home.
Supplies:
- Shoebox or Similar Box
- White Card Stock
- Paper
- Colored Markers
- Double Sided Sticky Tape
- Elmer’s Stick Glue
- Scissors and/or paper cutter
- Laminating Machine (optional)
- Laminating Pockets
- Printer
To start this “book box” craft you’ll need to print the FREE Brown Bear Printables. The only image I could not provide is the one of the “children” you see at the back of the box due to copyright restrictions. If you own the book “Brown Bear, Brown Bear, What Do You See?” you could make a color copy of that page or use a scanner and size it to fit the way I did.
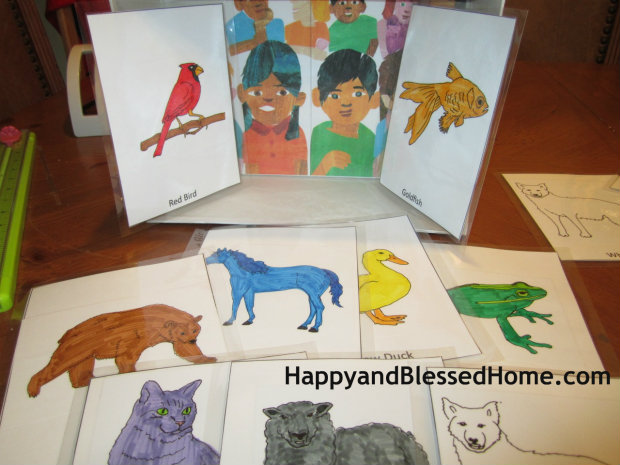
The printables include all of the animals from the book that I illustrated and colored for this craft. I did not copy any of the author’s artwork, I just created my own versions. If you’re a teacher you could take a photo of your students and place them at the back of the box, or if you’re a mom you can place a photo of your children. For the teacher (from the story) you could use a picture of yourself.
If you create two of each animal you could turn this into a memory game or a matching game.
This project was exciting for me because I have a three year old who loves books. My one year old doesn’t sit still for books but he did sit still for this “book box” with the illustrated cards that I flipped as I told the story. I wish I could share the excitement on my boys’ faces when I flipped all the cards and revealed the children from the book at the back of the box.
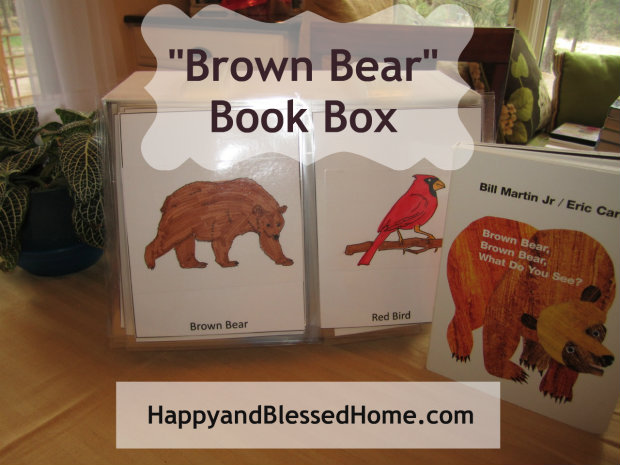
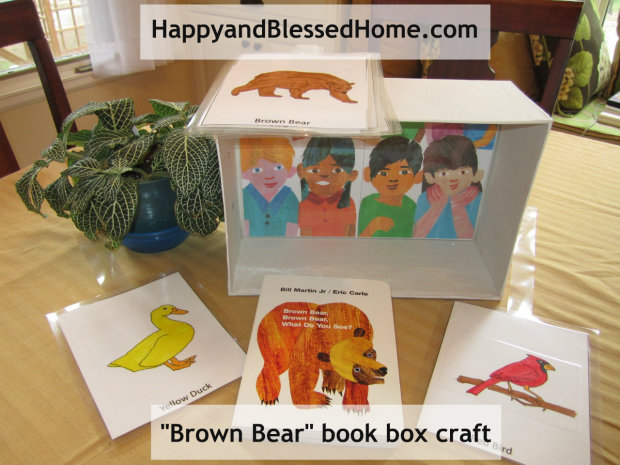
This is a picture of our book box completely assembled with the brown bear and the first animal that he sees in the story at the front of the box.
There are many variations you could create with this set of printables and shoebox, this tutorial will walk you through how to create the book box featured here.
Step 1: Color and Cut All of the Animals and Cards
Depending upon your child’s age, he or she may want to cut and/or color all of the animals. I created the images separate from the cards because you may want to use this as an opportunity to have your child match the animal with the word. Or you could have your child paint each animal the correct color and then match the animal to the word for that color on the card. Either way would be a great way to reinforce the recognition of the names of the animals and colors.
Step 2: Glue the Animals to the Correct Cards
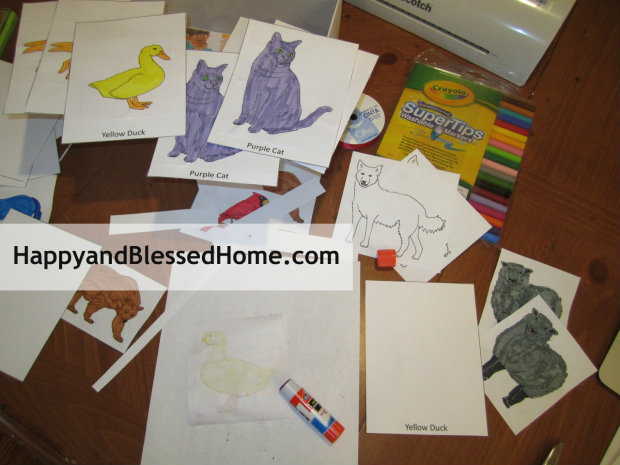
If you have a young child, he or she may color outside of the lines. You can trim each animal and cut away any excess coloring to make a picture perfect animal. Then you can use the Elmer’s stick glue to glue the animal to the matching card. The age and development of the child will play an important role in how this craft is assembled. If they are able, the child may be able to do the majority of coloring, cutting, and gluing of the pieces together by themselves.
Step 3: Laminate the Cards
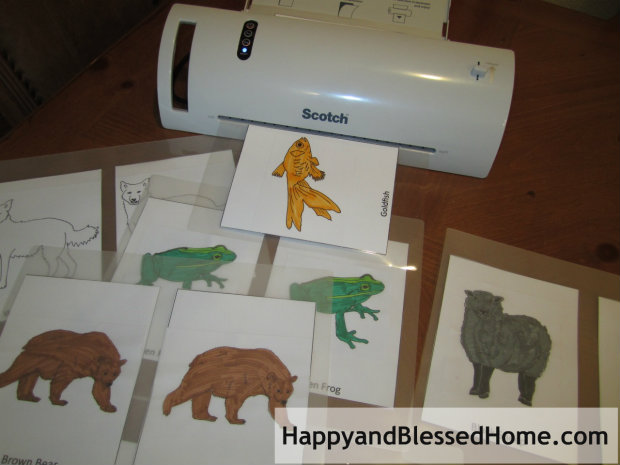
A laminator is not required, but helpful. What I like about laminating this project is the way it creates a learning tool that is not only beautiful but durable as well. I made two of each animal so that when this project is disassembled I can use these cards as a matching or memory game for my preschooler.
Step 4: Trim the Laminated Sheets and Assemble the Flip Pages
I laid out each laminating pocket to hold two of each animal. When I trimmed each page I first trimmed the top and bottom. I used a paper cutter to do the trimming. This created long strips that I could use to hang the cards from the box.
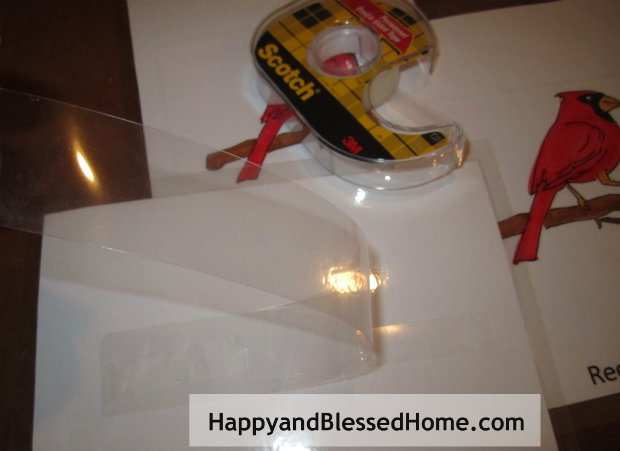
I connected the pieces with a strip of double-sided sticky tape on one end of the strip to the back of an animal card; then I taped the other end of the strip to the back of the box. I did this in such a way as to feature the animal card facing outward at the opening of the box. See the image just above Step 1 with the fully assembled box.
Step 5: Enjoy an Action-Oriented Story Time
You can animate this story in so many ways. You can assemble the box as I’ve described above or you can create flashcards, read the story and have your child “find” the next animal. Ask questions like “What Animal is that?” or “What Color is that Animal?” to reinforce learning. You can make a game by spreading out one of each of the animals and then asking your preschooler to find it’s match. You can also conduct a memory game by selecting a smaller subset of the animals and their pair. Lay the cards out on a table face up and point out the animals to your child. Flip the cards over face down on the table and ask your child to find the match.
In our family’s story time together I made sure to point out each of the words on the card as I read them to our boys. This was to highlight the fact that each animal has a name and each color has a corresponding word. My three-year-old can not read yet, but I’m hoping that by using some of his favorite books we can ignite in him a real passion for reading as he gets older.
What are some of your family’s favorite books? Maybe I can create a “book box” craft with printables for your favorite book! Please let me know what are some of your favorite books in the comments. I would love to hear from you.
New Subscribers
If you are a new subscriber – welcome to Happy and Blessed Home! I’m so glad you’re here and below I’ve listed a few links that you may want to review to help you become a bit more familiar with some of the resources on my blog:
- Learn to Read Alphabet Series – Printable Packages with 30+ FREE Activities for each letter of the Alphabet
- FREE Printables – as I create things for my children, I share them via this blog
- FREE Alphabet Printables – I love to illustrate and I created these for preschoolers
- Preparing for Kindergarten Series – insight from the book, “Skills for Preschool Teachers”
- One Word Devotional Series – encouraging words for moms w/video
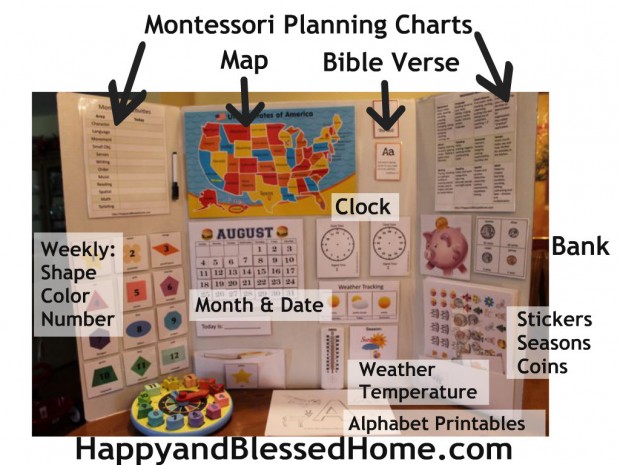
- Preschool Morning Board Series – an easy visual system to teach basic skills
- Montessori Planning Post – with labels, organizational charts & more
Lately I’ve been posting about twice a week (sometimes three times) and my posts have mainly been focusing on enriching preschooler activities using games and printables. I also publish Family Fun Friday every week.
Often, for your convenience, I’ll include affiliate links to things like Amazon or other sellers. I make a tiny commission, but my hope is that you’ll become a fan and want to support my blogging by using these links when you can. If you have time, you can also help me grow my blog by pinning the posts you like on PINTEREST or by sharing on other social media like Facebook. This is really important as word of mouth is one of the biggest ways that my blog grows.
Thanks so much for following Happy and Blessed Home. If you have any ideas or comments I’d love to hear from you. Please leave a comment whenever you have a free minute.
If you enjoy reading my blog please help me by liking my Facebook page at: HappyandBlessedHome or by Pinning my FREE printables button on PINTEREST. I hope you’re having a wonderful week.
In His Grip,
![]()
I link to over 100 parties a week. Additional links can be found at my Link Party Page. To leave a comment on any post, click the headline of the post and it will take you to a page where you can leave a comment at the bottom of the post.
