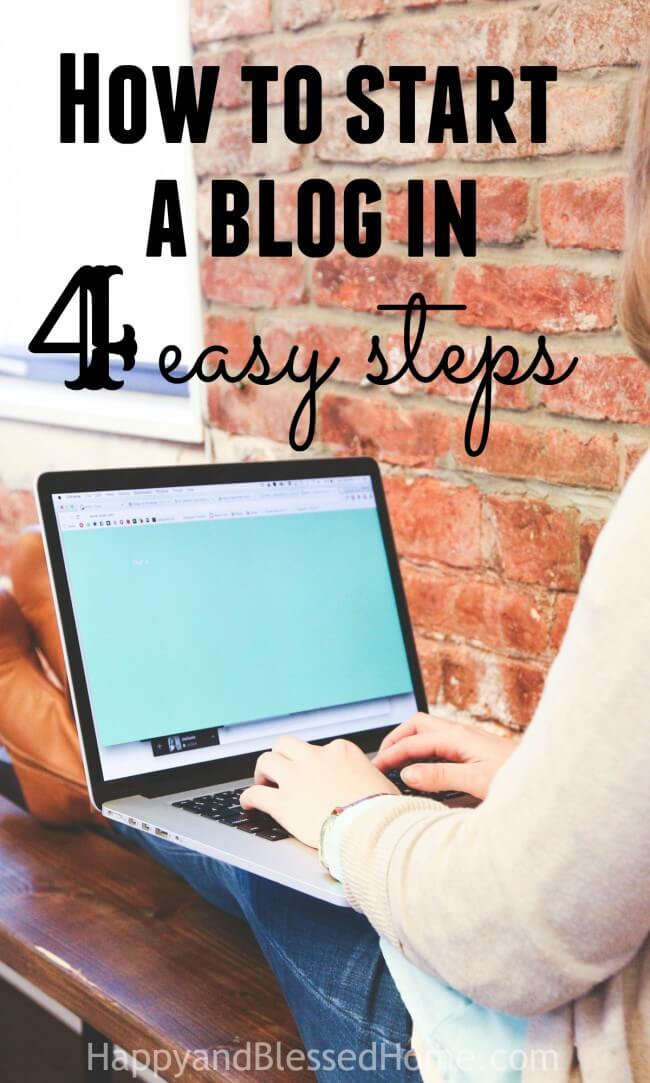
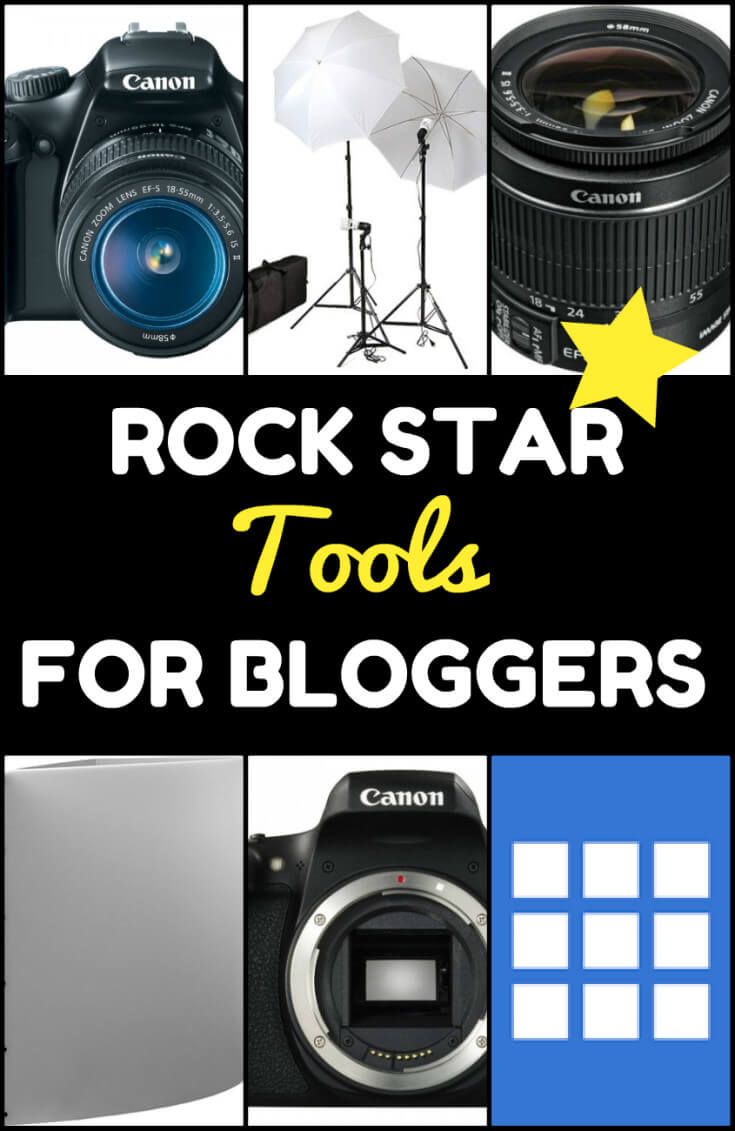
If you are at all interested in blogging or upping your game in photography, this post is for you. Here I’ll include a link to something I wrote recently “How to start a Blog in 4 Easy Steps,” in case you are at all interested in earning an income from blogging, AND I’m sharing the training I’ve taken and the gear I’ve been using to grow my blog into an income source for my family.
Where to Start: Fabulous Resources for Bloggers
Five years ago, I would’ve never dreamed I’d start a blog. Now it’s such an integrated part of our family’s lifestyle, I can’t imagine life without blogging. Monthly income on HappyandBlessedHome.com ranges from a few hundred dollars to a few thousand a month. Everything hinges on my available work hours, the ebb and flow of traffic, and my work with brands.
If you do not already have a blog and would like to set one up, you’ll love my post on How to Start a Blog in 4 Easy Steps.
I’ll walk you through exactly how I set up HappyandBlessedHome.com. I only recommend products I know and use so you can rest assured my blog set-up tutorial is a sure-fire way to get started blogging. The tutorial and all the information on my “resources” pages are free – I do use affiliate links on any products or services I recommend – but again, I only recommend the things I’ve either used, am currently using, or that I hope to start using in the near future. No fluff… this IS my secret sauce. That, and many, many hours of hard work.
Resources for Bloggers: Hosting
HappyandBlessedHome.com has been hosted at BlueHost for nearly four years. One of the wonderful features of BlueHost is their sharp technical staff and support. No matter the hour, when I’ve contacted BlueHost there has always been someone available to help me with a technical issue. HappyandBlessedHome.com is on a Pro Plan with BlueHost for about $25 per month, but BlueHost offers hosting for incredibly reasonable rates starting at less than $4 per month when you sign up for 36 months. You pre-pay for all 36 months up front, but if you decide to cancel at any time, they offer a money-back guarantee. So if you had BlueHost for 8 months and decided to switch, they would refund the remaining 28 months.
If you’re looking for a reliable and affordable hosting plan, I can highly recommend Blue Host – I’ve been using them for years and have always been satisfied with their support and service. For a tutorial on working with BlueHost make sure you read my post: How to Start a Blog in 4 Easy Steps. If you already have a blog and want to switch to BlueHost, the only difference is that you’ll be transferring a domain instead of starting a new one.
Blogging Books I Recommend
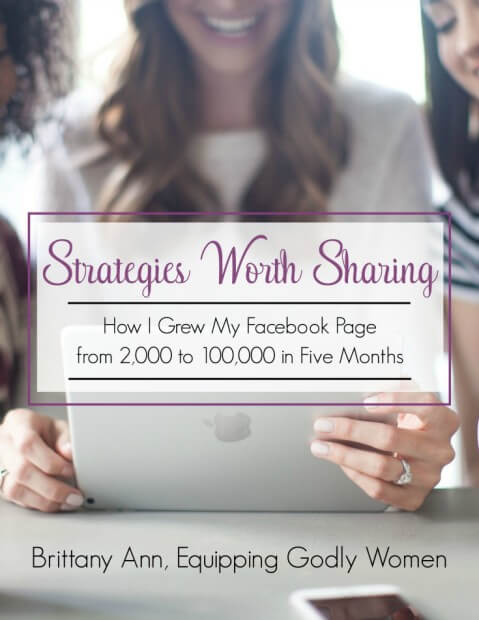
Strategies Worth Sharing: How I Grew My Facebook Page from 2,000 Likes to 100,000 Likes In Five Months – The title says it all. Brittney’s Facebook growth is off the charts and she knows what she is talking about.
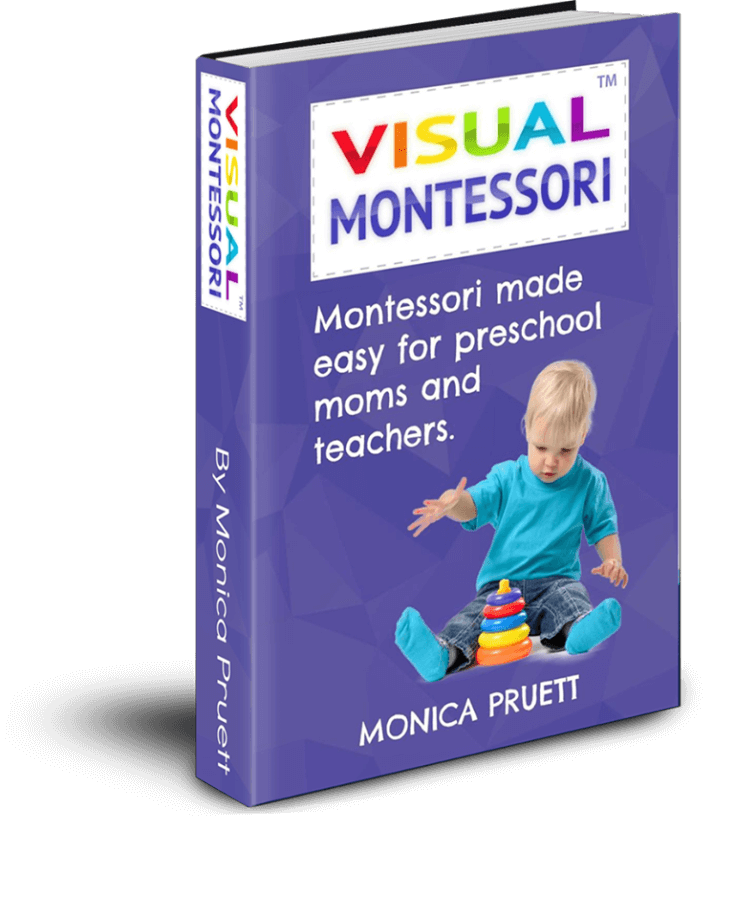
Tasty Food Photography by Pinch of Yum – This eBook, Tasty Food Photography, is the perfect resource for people who want to get more out of their still photography. Lindsey focuses on food, but the techniques she uses apply to all forms of photography. She provides examples to illustrate her training and she offers helpful advice for staging and lighting almost any subject.
Food Blogger Pro – If you’re serious about earning an income from blogging, you need to check out the 300+ Video Library at Food Blogger Pro. Lindsey has created a start to finish video course to help you earn an income from your blog by producing professional level food photography. Courses open and close at caring times of the year but you can sign up to receive notice of the next start date here: Food Blogger Pro.
Training & Continuing Education
Elite Blog Academy – Ruth has an established blog at Living Well Spending Less with 3 Million + page views per month. Her passion is blogging and she and I met while I was on travel to Florida in 2015. I completed all of Ruth’s courses in Elite Blog Academy. The Academy, the online forum, and Ruth’s ongoing live broadcasts have resulted in big jumps in blog traffic for HappyandBlessedHome.com that tripled in 2015. I highly recommend Ruth’s courses if you want a disciplined and organized approach to blogging and you need help “getting your ducks in a row.” Ruth’s course IS an investment, but if you’re not completely satisfied, she offers a 100% money-back guarantee. The course opens at various intervals throughout the year, but you can sign up here: Sign up for Elite Blog Academy — to be notified when the next round of classes opens.
Ruth also offers a FREE Online Training – a great sample of her training techniques. Just click the image to sign up for her free course.
If Elite Blog Academy (EBA) is out of your price range, I also recommend Ruth’s book “How to Blog for Profit without selling your Soul.“ She shares many of her hard won blogging secrets in the book – but you won’t get the networking you get when you join EBA.
Blogpreneur by Holly Homer & Co. – I’m currently enrolled in this course and am loving it. Again, Blogpreneur IS an investment but the tips on social media alone have been worth.every.penny. When you’re ready to harness the power of Facebook, Pinterest and Twitter, you’ll want to take this course. I feel like the veil has been pulled back from the mysteries surrounding some of the major forms of social media and I have a more concrete plan for tackling the marketing efforts of my brand online.
Resources for Bloggers: Photography
Once I improved my photography, I went from an occasional sponsored post, once a month, to now being booked solid a month in advance. It takes work, but knowing that I’ll have a steady income for the next 30 days or more – gives me a sense of income security. My #1 Tip: learn how to use your camera. Spend some time with it. Want laser-like focus? Use a tripod and natural lighting.
Photography Examples:
BEFORE advanced camera equipment and training:
AFTER advanced photography equipment and training (see the difference?)
Photography Equipment:
Lighting
No matter how much you spend on your camera, if you don’t have the proper lighting, you’ll still have yellow, grainy photos that don’t reflect the subject in it’s true-to-life color and appearance. I try to use natural lighting as much as possible but if I don’t get the timing of my day just right (which happens when you have two young children) special lighting equipment is the perfect back up.
The human eye and the camera lens “see” things differently. In indoor photography, the average lightbulb adds a tint of yellow to almost every photo. If you take a picture in normal lighting you’ll find it very difficult to get that crisp, sharp appearance you desire. The biggest issue is something called “white balance.” In day to day indoor lighting, the yellow hue from light bulbs makes everything that’s white look a little yellow to the camera lens. When you turn off the light bulbs indoors and instead, and use lights made for photography, you get photos that are crisp and true to life. The good news is: you don’t have to spend a fortune on lighting to get white balanced photos. There are some awesome options for bloggers that help make studio lighting available for even a tight budget.
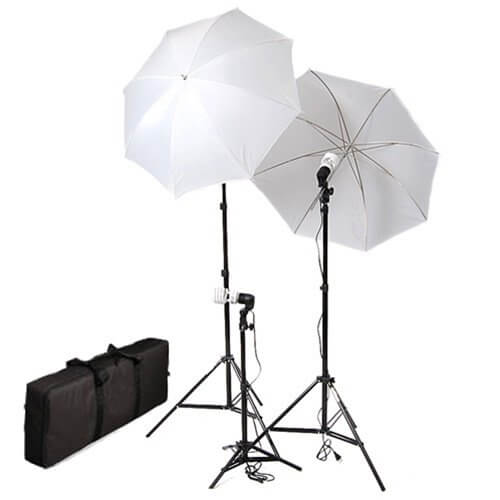
CowboyStudio Photography & Video Portrait Umbrella Continuous Triple Lighting Kit – What I love about this lighting set is it’s affordability. Less than $70 for all three lights, this kit is lightweight and can be collapsed to fit inside an easy zippered carrying bag. To make full use of these lights, you need to turn off any other lights indoors. Try setting these lights closer and further away from your subject to create different shadows and lighting effects.
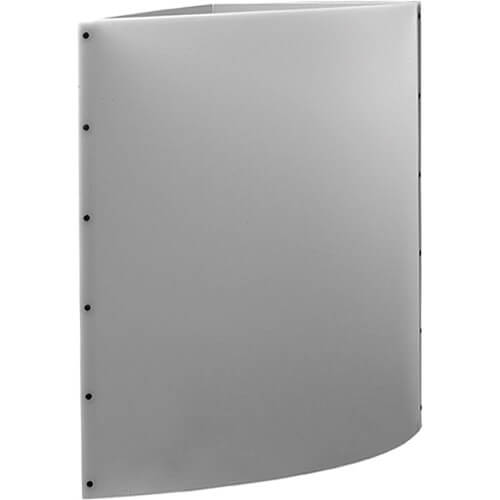
Lowel Ego Digital Imaging Fluorescent Light – The only challenge with the Cowboy lighting studio is that none of the lights can truly highlight a subject with a bright light. That’s where the Lowel Ego light comes in. It’s powerful enough to light a still object all by itself or it can be used in addition to the Cowboy lights. The Lowel Ego Tabletop light provides professional results. Setup is easy: plug it in, place it on the table, and turn it on. It’s ideal for taking digital tabletop shots of toys, food, and other still photos. I’ve even used it to light rooms for parties and head shots. It includes two 30 Watt screw-in compact daylight fluorescent lamps (brand and wattage of bulbs may vary) and a folded white reflector card. The price for the Lowel is about $130 (last I checked).
Camera Equipment
DSLR – I use a Canon Rebel T6s. I started with a Canon Rebel T3, it also takes gorgeous photos, but switched to the T6s for the WiFi functionality, increased focal points, and flip-out touch-screen interface. I can’t even begin to describe the difference between a point and shoot, or camera phone, versus a high-powered, precise, responsive, and amazing machine like a Cannon. I originally purchased a DSLR camera because I was tired of missing the expressions on my kids’ faces when I used a point-and-shoot.
With the adjustable shutter speeds, I can move to a quick shutter speed and have stunning pictures of my kids in action. Now, I have a piece of equipment that delivers mouth-watering food photos and captures the grins of two rambunctious little boys on the swing set. Worth.every.penny. Here I’ll provide a description of each of the cameras I’ve loved and used and explain some of the differences.
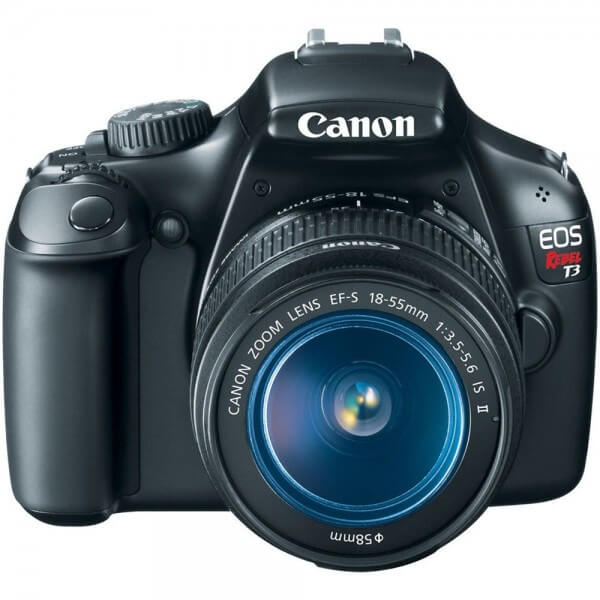
This is the Canon Rebel T3.
Canon Rebel T3 – Since it’s an older model, this camera has been discontinued by Cannon but you can still find a few online. This camera will set you back anywhere from $300 to $500. It takes fabulous, clear, high resolution photos that are perfect for editing and publishing online or large print. The automatic settings make the camera perfect for a novice, but it also offers all the bells and whistles for camera settings perfect for a blogger or online publisher. Once you learn how to use the Canon Rebel T3 camera settings you can take photos with precise focus, intense depth of field, and capture every nuance of light. You can also get the crazy antics of a three and five year old as they play “storm the castle” with the pillows from the living room couch. It has a 9-point auto-focusing system – meaning it can automatically focus on up to 9 specific points using the auto settings on the camera.
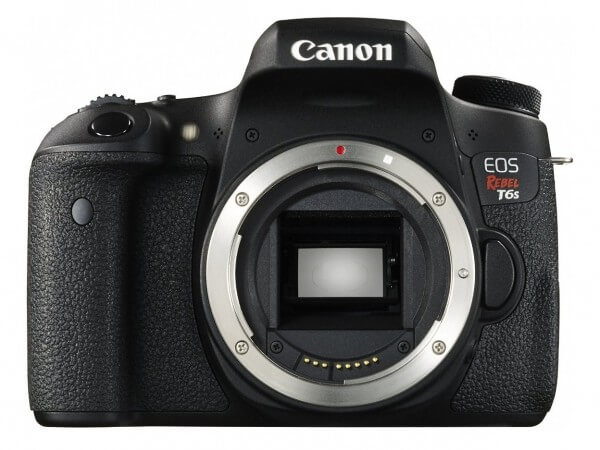
This is the Canon Rebel T6s.
Canon Rebel T6s – With the Rebel T3 you have to know your settings and how to use them by setting the menu and dial control. With the T6s, you have a flip-out touch screen and intuitive touch-screen functionality that enable you to skip the dial turning and setting selection to use the screen to guide your photography. Last I checked, the camera body alone ranges in the $750-$900 range. But I truly believe that if you want to earn an income blogging, you need to have the right equipment. You also need to stay up to speed on your training and skills.
The beauty of this machine… see a point of light or focus you want to capture? Just touch the screen of the Canon Rebel T6s and the camera will zoom in on the point you touched and create a photographic piece of art. You still want to understand the width of the focal point (f-stop) and the granularity (ISO) of the photo, but the camera is so intuitive that it will interpret what you’re trying to do and take gorgeous photos. It also comes with the ability to take video, is WiFi compatible, and it comes with a wide range of presets perfect for both indoor and outdoor lighting. The Canon Rebel T6s has a 19-point all cross-type autofocusing system allows superb autofocus performance (that’s more than twice as many focal points as the T3 above). This camera is different from the T6si – so make sure you select the right camera. I am in love with my camera and it has changed not only our family photos for the better, it’s a secret weapon for my business.
Lenses
I have three lenses – all for varying distances from the subject. I use a telephoto, an 18-55mm lens and a 50mm lens. I use a Cannon camera so I only use Cannon lenses. I find that Cannon lenses and cameras are slightly more affordable and extremely user-friendly.
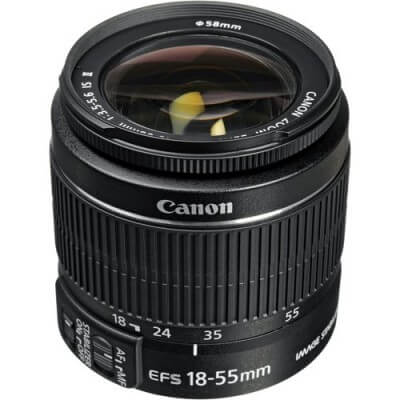
Essential Lens: Canon EF-S 18-55mm f/3.5-5.6 IS STM Lens – This is the lens that can (almost) do it all. You can get beautiful up-close photography, and capture your kids climbing on the monkey bars outside. 90% of the time this is the lens that is on my Canon Rebel T6s because it is so versatile. If you purchase this lens, make sure it has two important switches: 1. AF/MF – Autofocus to Manual Focus and 2. Stabilizer On/Off. I’ve seen some cheaper versions that are missing one of these critical features. Unless you’re as still as a tripod when you take photos — do not buy a lens without AF/MF and image stabilization. Otherwise, your photos will never have the laser like focus you see in advanced still photography.
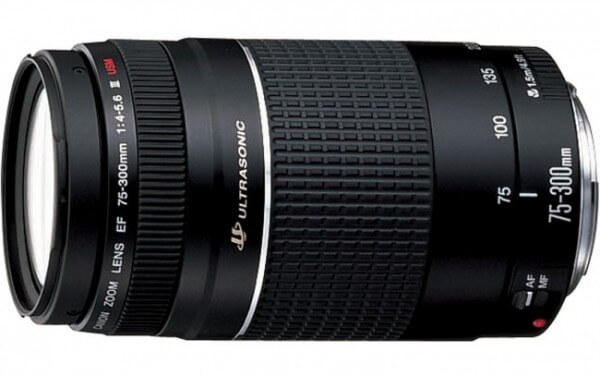
Telephoto Lens: Canon EF 75-300mm f/4-5.6 III Telephoto Zoom Lens for Canon SLR Cameras – If you have your kids in sports and you watch them play from any sort of distance, you’ll want this lens. Once you pair this lens with the quick shutter speed of the Cannon in “sports” mode, you’ll get some great action shots of your kids playing on the soccer field or climbing on the playground. This lens is great for shooting animals or scenes from far away when you’re outdoors. You can also use this lens to create a blurred background when shooting things indoors or outdoors that aren’t so far away. As with any photography, if you have the proper light and technique, this lens is great for capturing breath-taking photos.
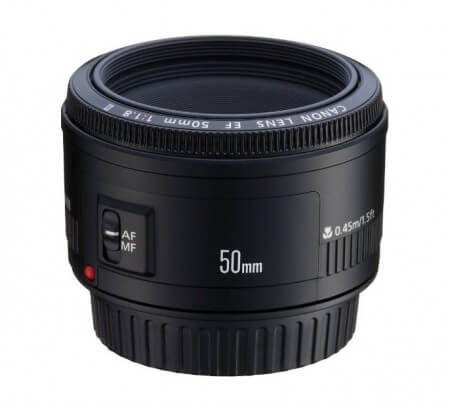
Close-Up Lens: Canon EF 50mm f/1.8 STM Lens – For gorgeous still photography, this lens works like magic. To truly use it to it’s high performance abilities, you need to learn to set the f-stop on your camera. The f-stop creates a small or large diameter of a focal range around the focal point you’ve selected. This lens does not zoom. To change the field of view, you will need to move closer or further away from your subject. If you need help learning how to use your camera, I highly recommend this fantastic eBook: Tasty Food Photography by Pinch of Yum. This book revolutionized my photography and it’s so good, I read through the entire book until 2 AM that day I purchased it. I can now operate every feature of my lenses and camera and I’m getting some awesome photos in the process.
Travel Friendly Tools
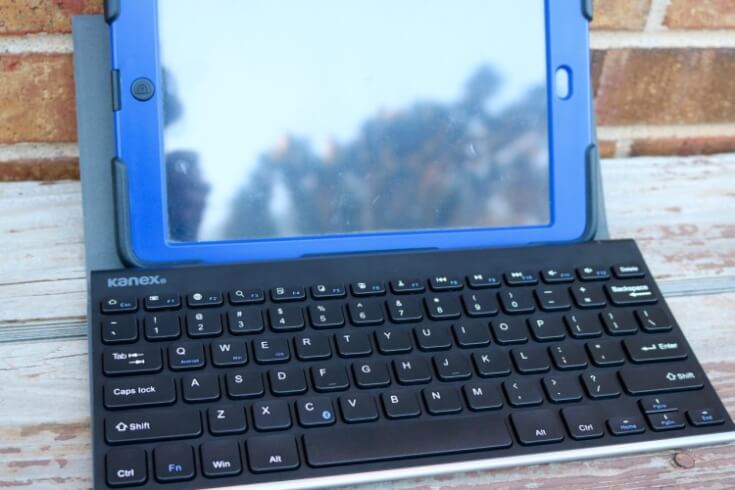
I often carry all of my equipment in a backpack regardless of where I’m headed for the day. For ultra lightweight travel and blue tooth portability, I love my Kanex Compact Bluetooth Keyboard with stand cover. It’s perfect for stating up an iPad. The cover closes and stays closed with a magnet and supports tablets or iPads up to nine inches in width.
Other tools that have helped significantly in my efforts to capture stunning photos and video include:
Tripod: AmazonBasics 60-Inch Lightweight Tripod with Bag
iPhone: iPhone 5
If you find these tips helpful, please use my affiliate links. Every little bit helps and I thank you for your support!
More to Come
As I have more time and can add more tips and resource to this post, I’ll revise it as I go. You may want to bookmark this for later as I’ll be updating it in the future.
If you’re interested in learning more about blogging, sign up for my list of blogging friends. You’ll get an invite to my blogging link party, Family Fun Friday, AND you’ll get any blogging tips or updates on my blogging adventures — as I learn new skills, and discover new ways to grow my blog.
What are your favorite Blogging Resources?
If you’re a blogger, I’d love to connect! Please massage me on one of your favorite social media channels. I’ve listed all of mine below. What are some of your favorite blogging resources? Please leave a comment or a tip below and join the conversation. I love hearing from you!
