This shop has been compensated by Collective Bias, Inc. and its advertiser. All opinions are mine alone. #RealMagic #CollectiveBias. Here I’ll share some inspiring handmade Christmas gifts and my homemade Snowflake Christmas cookie tutorial.
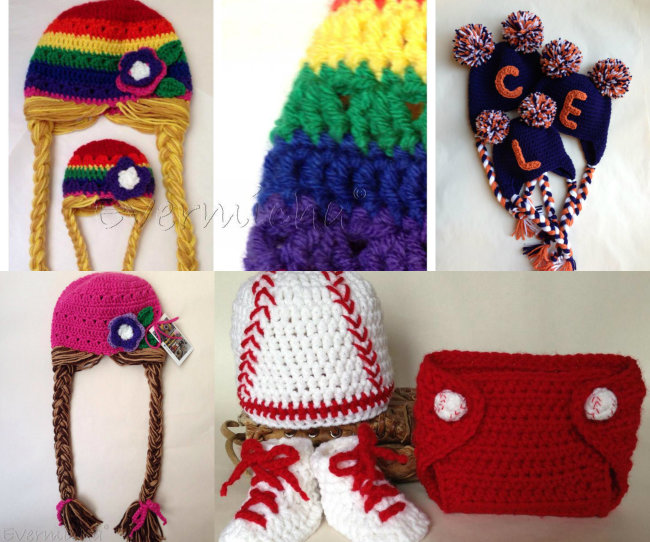
Have you ever considered asking a friend to help you make a Christmas gift extra-special? I have so many talented friends and today I’d like to introduce you to my friend Hannah. Hannah uses crochet to create beautiful crochet-wear including some gorgeous hats for boys, girls, men and women.
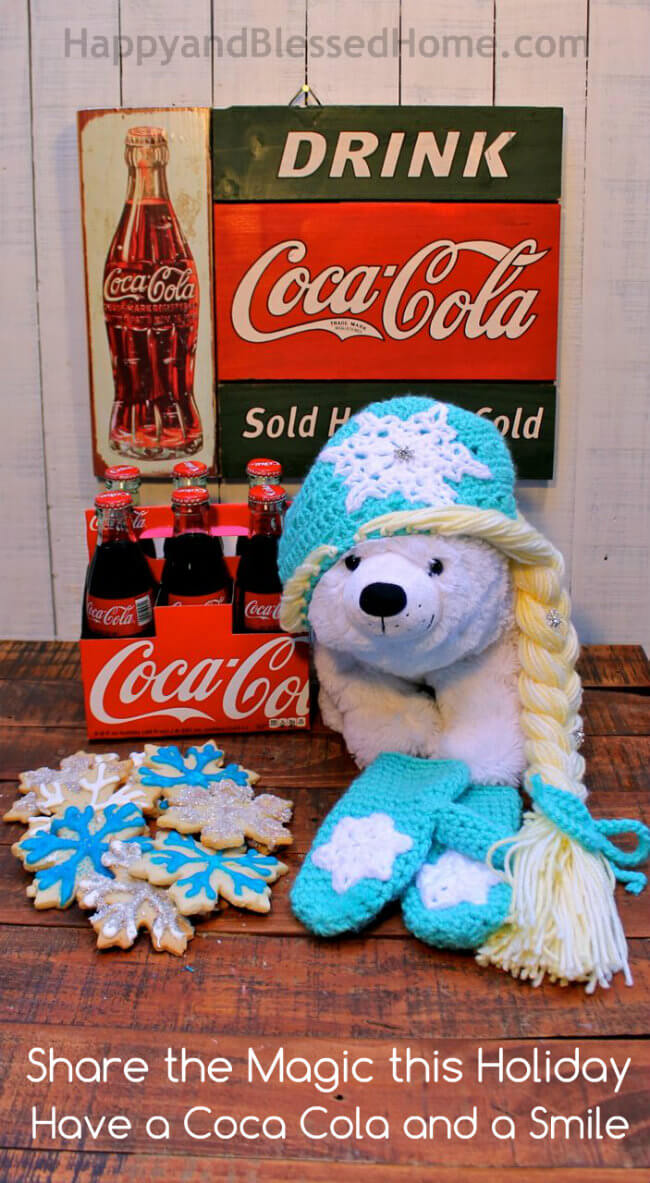
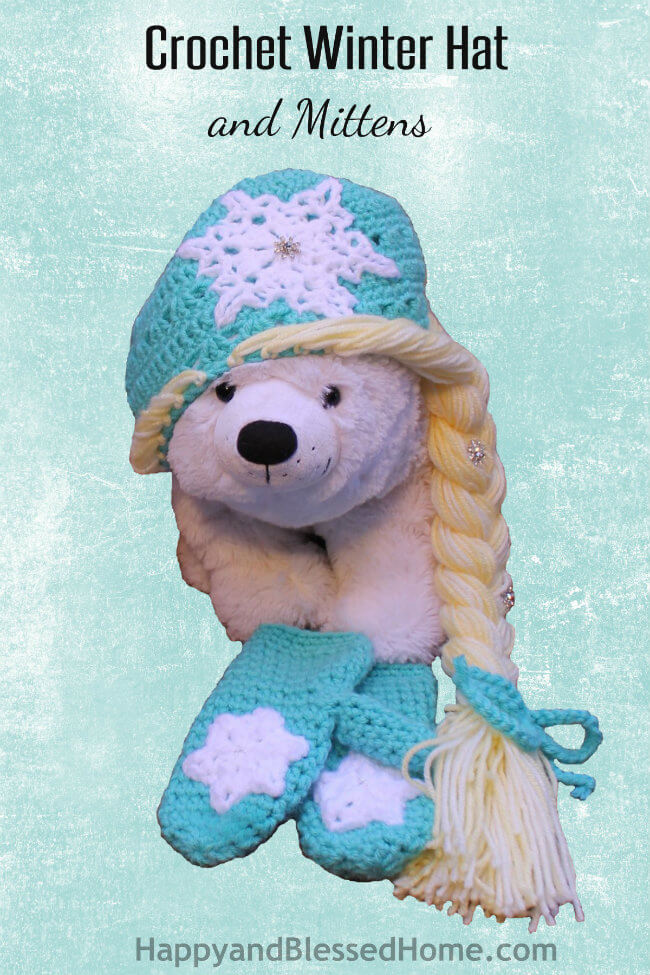
I asked Hannah to create a beautiful set of winter hat and gloves for my niece. I think her girl’s winter hat is stunning. It can transform a little girl into a princess. I feel so special even wearing one of her creations in these photos. With Hannah’s help, I’m able to create a Christmas for my niece that is extra special. I photographed Hannah’s beautiful winter hat below. I hope my photos do it justice. All I can say is it’s even prettier in person. Here is what she created.
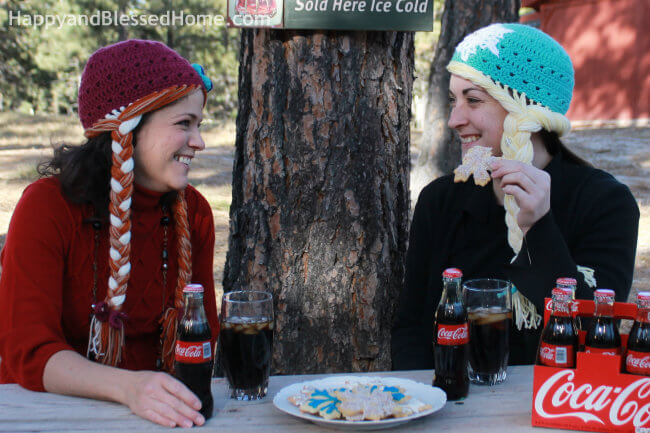
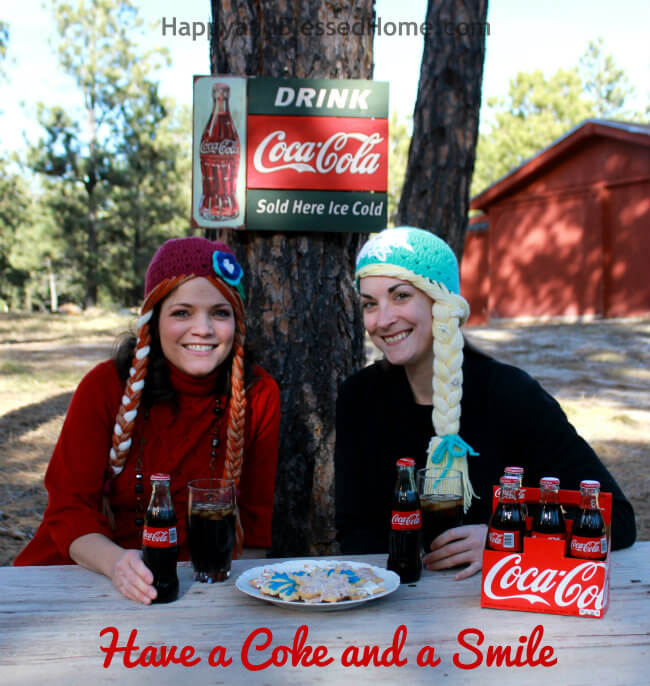
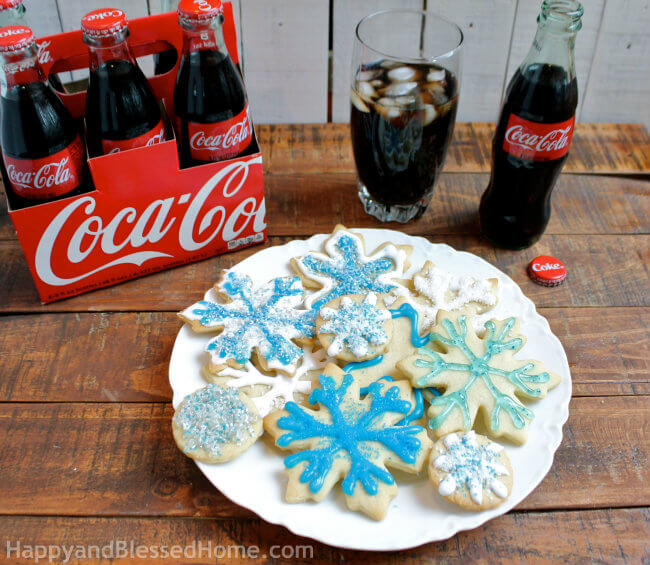
I was so excited about the beautiful crochet gift set that I invited Hannah over. I loved hearing how she got into crochet and how she hopes to make and sell patterns someday. I was amazed by her beautiful crochet-wear, and as we talked we ate homemade snowflake cookies and drank ice cold Coca-Cola.
Real Magic with Coca-Cola
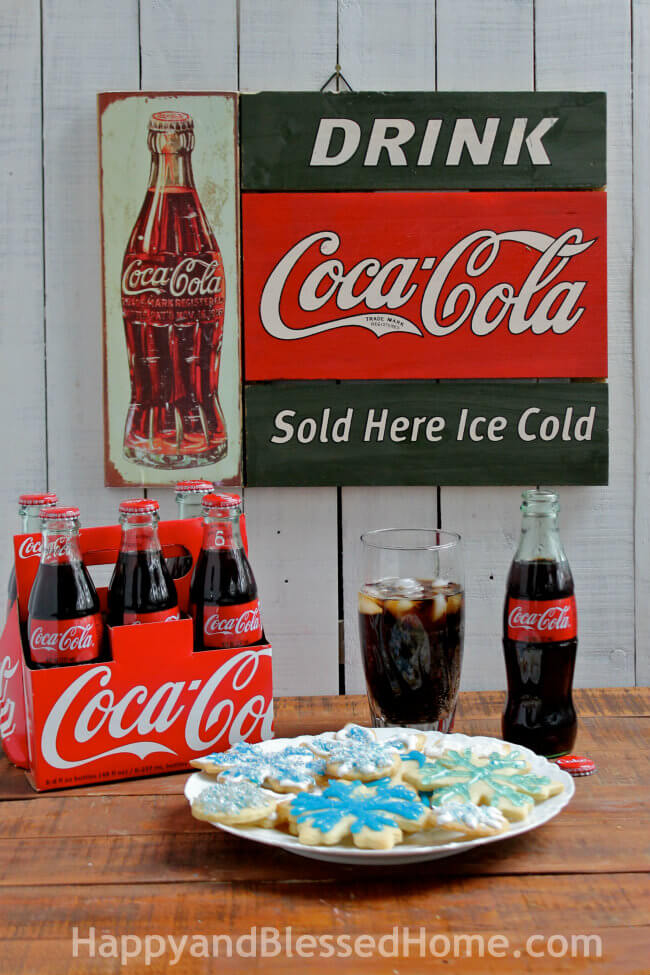
Every year at Christmastime, Coca-Cola comes out with some beautiful old-fashioned glass bottles reminiscent of a time when folks would buy a coke at a vending machine and stand around and chat and get to know each other. That’s what Hannah and I did, we shared a Coca-Cola, some yummy Christmas cookies and we laughed and talked, and became better friends.
You can find these glass bottles on the soda aisle at Walmart in a special display like the one pictured above.
Coca-Cola has teamed up with Santa Claus to create a brand new way to make the holidays even more magical, they’re giving away additional Coca-Cola rewards to fans who share ideas for making the holidays special. Help them make a little more of the magic that’s happening all around by sharing some simple ideas for bringing an extra sparkle to someone’s season. Coca-Cola wants you to share the magic by Tweeting or Instagramming a photo of how you are making the holidays more magical with the hashtag #RealMagic. When you do this, you will get a special thank you smile in return plus you can earn extra rewards by sharing videos and photos from the My Coke Rewards website.
If you enjoy Coca-Cola products make sure to sign up for My Coke Rewards with Coca-Cola.
You can also connect with Coca-Cola on their fan pages at Twitter, Facebook, and on Instagram.
A Love of Crochet
Hannah started to crochet as a way of making gifts for family and friends. When her sister needed help raising funds to adopt a little boy from Ethiopia three years ago, Hannah stepped-up and offered to help by raising funds through her crochet hobby. She managed to raise over $2,500 to help her sister over the course of a year, and her new crochet business, Evermicha, was born.
Did you know that they have not been able to create a machine that can duplicate crochet? There are a few machines that can create a knit, but that’s different from crochet. Crochet is created by hand with one hooked needle and knitting is done with two needles and no hooks. Hannah is very careful to ensure an even hooked stitch in each of her projects. It’s her attention to detail and “tight-crochet” quality that make her projects so beautiful.
What I love about Hannah is her heart to serve. We met through Mother’s of Preschoolers, MOPS. She’s my table leader and she’s always gifting us some of her beautiful crochet creations. For me, my time with Hannah reminded me of how much I need time with other moms. Sharing our dreams and aspirations as well as the love we have for our kids, telling stories with Hannah was a great way to connect with a mom in with whom I have so much in common.
Hannah and I want to share a some #RealMagic this holiday season with you. Hannah’s expertise is in creating colorful crochet wear. I think her designs are so inspiring. Do you have a friend who inspires you? Maybe someone you know creates handmade gifts that would be perfect to give this Christmas? And maybe the gift isn’t even a tangible gift. Maybe it’s time with a friend. That’s what the #RealMagic campaign is all about. Spend time with someone special, get inspired, and create a memory that always makes you both smile. That’s the kind of real magic I think everyone can enjoy at Christmas.
The winter hat Hannah created for my niece has a beautiful winter snowflake on it. It is crocheted with intricate detail. The braid on the side is embellished with tiny jeweled snowflakes.
I love the subtle sparkle and I decided to bake some snowflake themed cookies with a bit of sparkle all their own. I don’t know how to crochet, but I can share a little holiday magic with neighbors and friends like Hannah by gifting them Coca-Cola and some delicious snowflake Christmas cookies. Here I’ll share a tutorial on how to create these beautiful snowflake cookies.
Snowflake Cookie Tutorial
These cookies are created using a basic sugar cookie cut-out recipe. Here I’ll share the ingredients and a tutorial on how to decorate these cookies to look like snowflakes.
Ingredients for Snowflake Cookies
- 1 Egg
- 1 Tablespoon Milk
- 1 Teaspoon Vanilla
- 1/3 Cup Butter or Margarine
- 1/3 Cup Shortening
- 1 Teaspoon Baking Powder
- 1/8 Teaspoon Salt
- 3/4 Cup Sugar
- 2 Cups All-purpose Flour
- A snowflake shaped cookie cutter is optimal for this project
- Cookie icing in blue and white
- Sprinkles in white, blue and silver
- Icing Gel
Directions
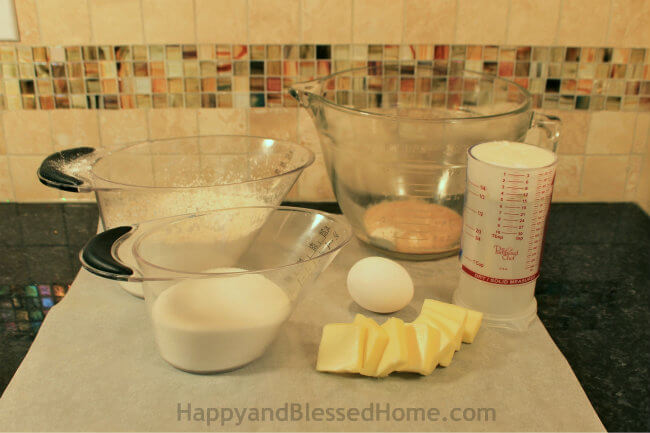
Step 1: Gather ingredients and preheat oven to 375 degrees. I like to gather everything into measuring containers first so I can check and double check to be certain I have all my ingredients. You can let the butter soften a bit but it actually helps to have cool butter in this recipe if you want to be able to roll and cut cookies right away.
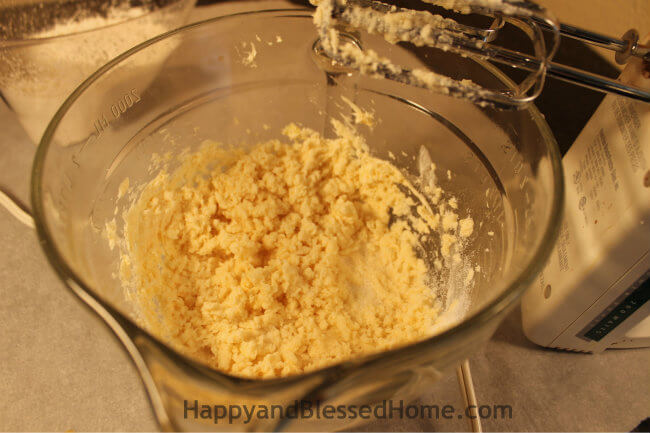
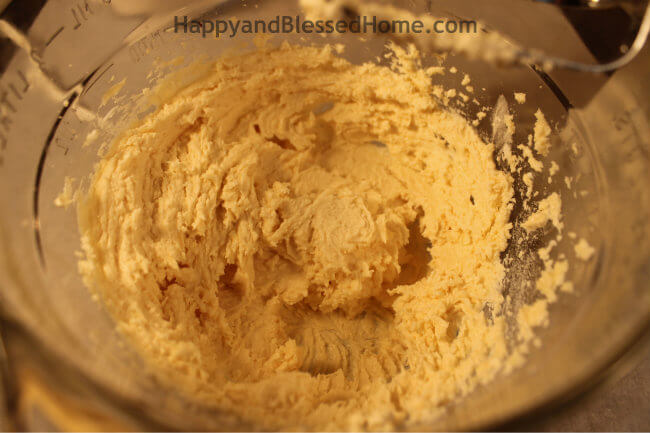
Step 2: Mix Wet Ingredients. The key to getting this recipe to work correctly is to mix the butter and shortening until smooth. If you don’t take the time to mix it until smooth your cookies will tend to be more crumbly and harder to work with. I mix the butter and shortening first and then add in the milk, egg, and vanilla. I also add the baking powder and salt. See how this mix clumps?
You want smooth and creamy – keep mixing until you have it.
Step 3: Mix in Dry Ingredients. Add your sugar first and mix well. You want a bond to form between the sugar and butter. The bond between the two is what makes cookies so delicious. Add half the flour and mix well. Add the second half and mix completely. The batter will be thick and crumbly.
Step 4: Form dough. Make sure your hands are clean. Reach into the bowl and lump together the crumbly mix into a ball of dough. If you find the dough difficult to work with you can refrigerate it for anywhere from an hour to overnight. Make sure to cover your dough if you put it in the fridge. If your dough is too stiff after cooling, just put in the microwave on high in ten second increments until it’s at optimal softness. Too soft though and it won’t hold together. You want firm but pliable.
Since I used butter, milk, and an egg straight from the fridge and whipped them into softness, I was able to skip refrigerating the dough and I went straight to rolling it out.
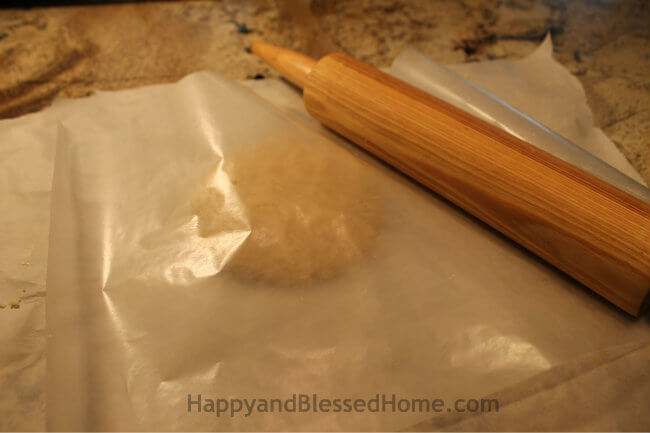
Step 5: Roll out dough. I’ve baked cookies, pies and almost everything in-between. For me, the #1 foolproof way to get an even roll-out is to sandwich my cookie dough with a sheet of parchment paper on bottom and a piece of wax paper on top. Using this method I can roll out an even distribution of dough and I don’t have to waste time peeling dough off my rolling pin. Parchment paper is a huge time-saver in the kitchen. I line my baking sheet with parchment paper before I roll out my cookies as well.
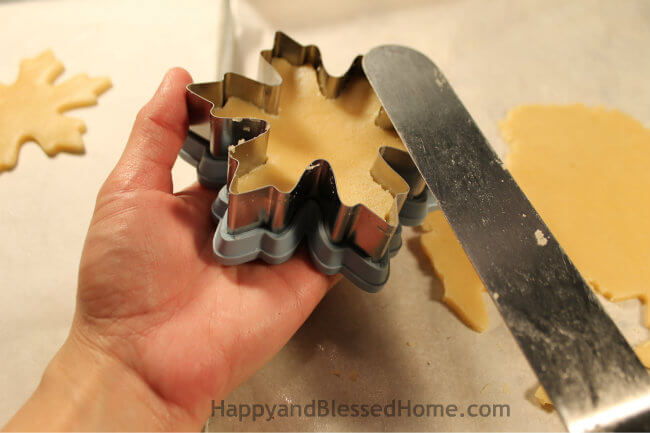
Step 6: Cut out cookies. Now, as I mentioned, I skipped refrigeration. To avoid snowflakes that fall apart, I used an icing spreader like a spatula to help me lift cut-out cookies to the parchment baking sheet. The cut-out cookie stayed inside the cookie cutter until I transferred it to the baking sheet. I used my hands and fingertips to steady any arms of the snowflake that threatened to break off, and I managed to keep most of the cookies from falling apart using this technique.
Step 7: Bake Cookies at 375 degrees. I iced my cookies after they baked so I did not add any sprinkles onto my cookies before I put them in the oven. If you like cookies with just a few sprinkles on top, add the sprinkles on top of these cookies before you put them in the oven. You’ll need to bake your cookies for 8-10 minutes or until the edges turn a golden brown. Cookies in general bake faster on metal baking sheets. I baked a few on stoneware and the cookies took about two minutes longer to bake on stoneware. So baking time may need to be slightly modified based upon the type of baking sheet you are using. Just keep an eye on things to ensure you do not burn any cookies.
Step 8: Set cookies out to cool. I put my cookies on a cooling rack about 8 minutes after they’ve come out of the oven. If you try to get them off the cookie sheet too soon they may crinkle. Once the cookies are on the cooling rack, I am able to reuse the cookie sheet and parchment paper to bake another batch.
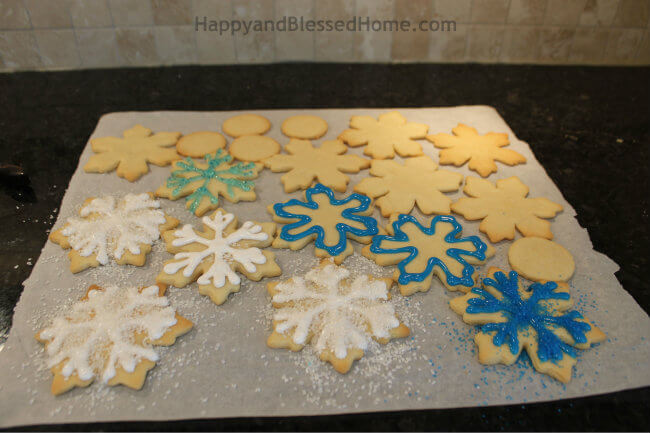
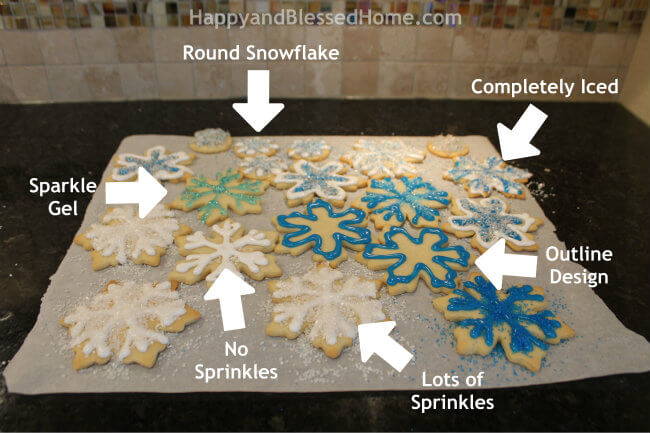
Step 9: Decorate Cookies. To make cookies look like snowflakes, I like to start by drawing a center line with cookie icing straight down the middle of each arm of the snowflake. I know how to make homemade icing for cookies, but I find that using pre-made cookie icing saves me lots of time. For this project I gathered up an array of sprinkles in silver, white and blue. I used blue and white confetti gels, and I used blue and white cookie icing.
I added an upward-reaching “V” to the end of each arm of the snowflake. For extra sparkle, I added sprinkles to the cookie icing. By the way, cookie icing dries really fast. If you plan to add sprinkles, do it as soon as you ice a single cookie. If you ice all your cookies and try to go back, your sprinkles will not stick. I also like to create outline snowflakes – sometimes I fill them in with opposing colors and sometimes I leave them as is.
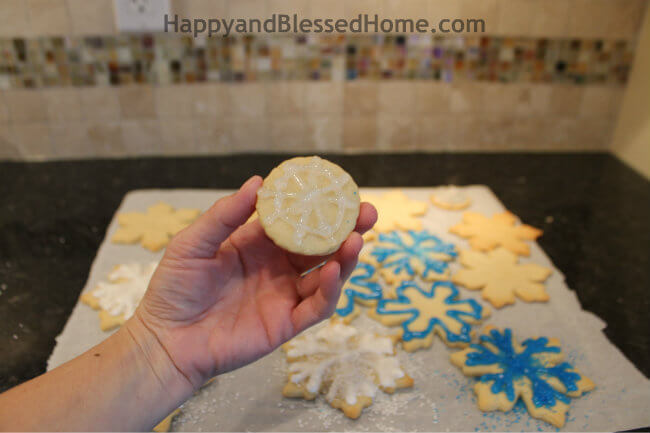
If I’m using a round cookie I draw a snowflake pattern and then cover it in sprinkles.
If a cookie turns out a bit more brown than the others, I like to frost it completely and then draw the snowflake pattern on top.
Here are a few examples of ways to decorate a cookie to make it look like a snowflake. Just shake off any excess sprinkles onto the parchment paper after the icing dries. I’ll fold my parchment paper in half at the end and save all the excess sprinkles in a zip lock bag – they’re perfect for my next batch of cookies. Just remember, no matter how they are decorated, they are all delicious.
Create some #RealMagic this Holiday
Hannah is truly an inspiration for me this Christmas. If you have a friend who inspires you, see if you can carve out a bit of time with that person. Who knows? Maybe you can make a new friend or get to know someone better and create fun memories that will make you both smile for years to come. That’s my Christmas wish, lots of fun memory making with family and friends for anyone reading this post. Merry Christmas!
What are some of your favorite ways to enjoy time with friends? Maybe you can host a snowflake cookie exchange. 
Happy Holidays!
Blog / Facebook / Pinterest / Twitter /Google + / Bloglovin’/ Instagram
P.S. – I blog to encourage moms, offer free preschool tools, and share ideas for family fun. If you enjoy free printables, crafts and games for little ones, ideas for family fun and encouraging posts for moms, sign up and have Happy and Blessed Home delivered to your inbox. Simply enter your e-mail address here:
Thanks for being a fan!
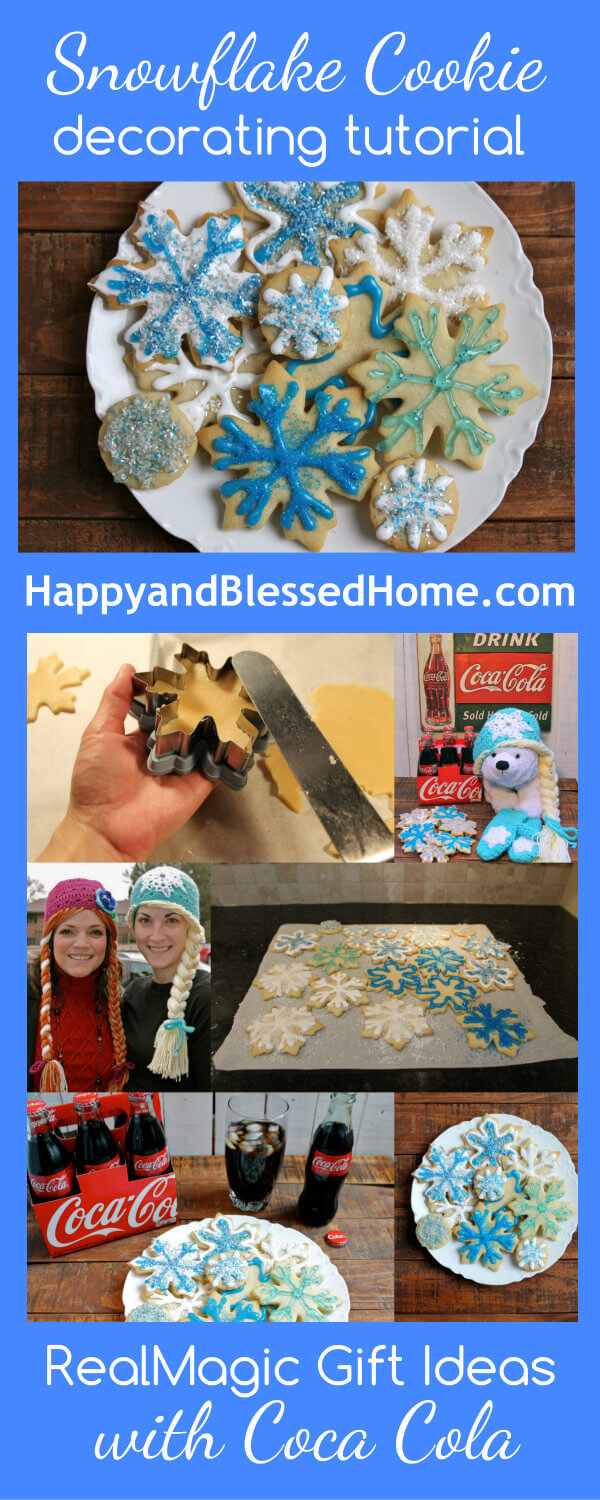
FUN Pinnable Image – Share the love on Pinterest!
