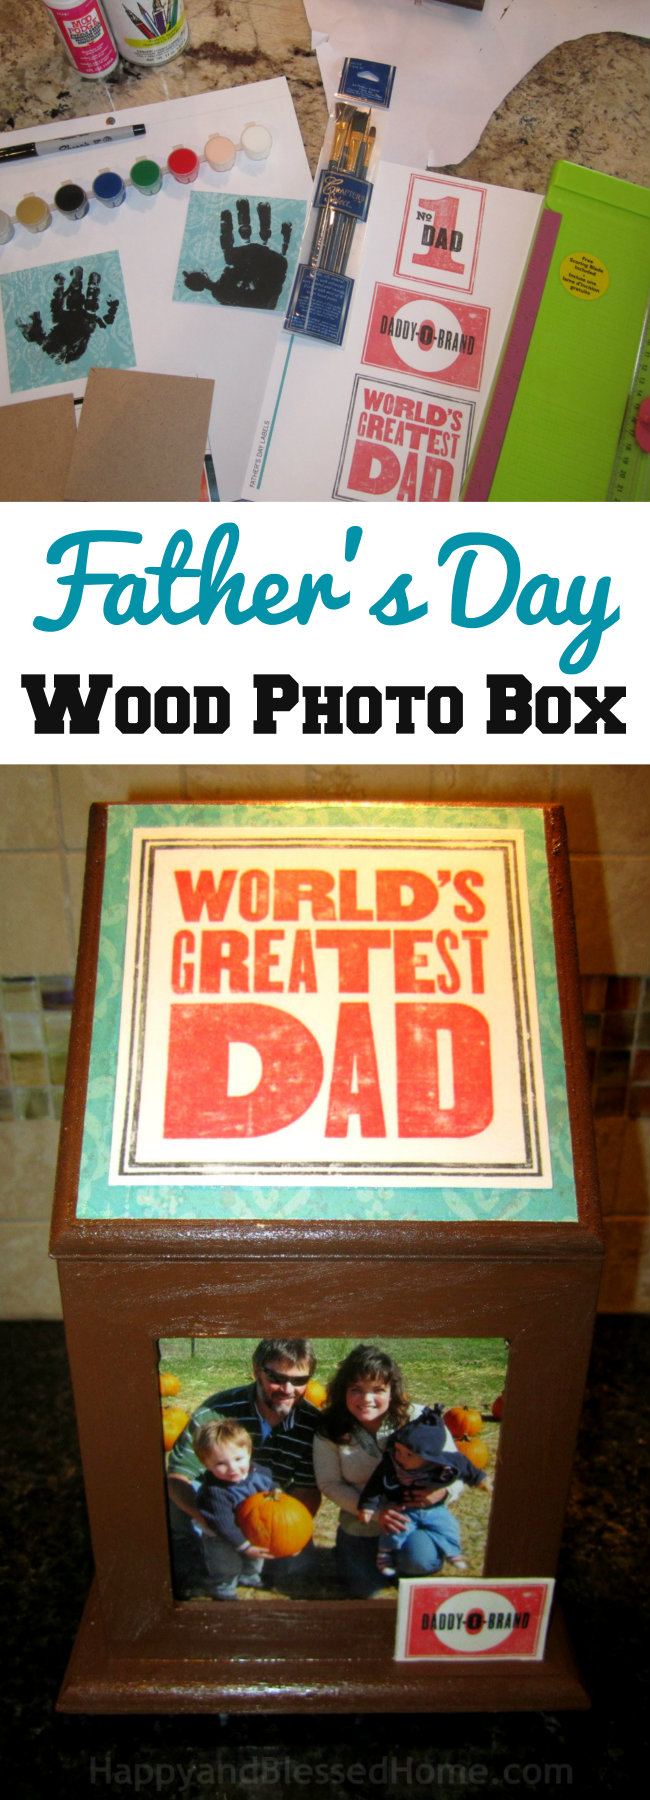
Looking for an easy and inexpensive Father’s Day gift that is easy to personalize and acts as a wonderful keepsake for your family? You’ll love this tutorial on creating a wood photo box for Father’s Day.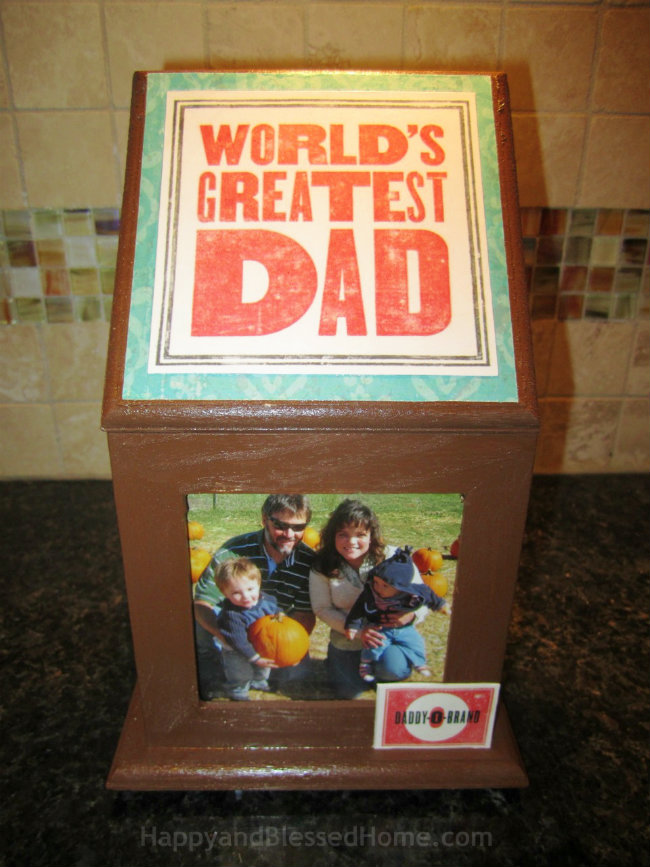
Handmade Father’s Day Gift – Wood Photo Box Craft
This easy Father’s Day craft for kids and moms can be completed in less than two hours (includes dry time). This Father’s Day gift is also easy to personalize – it’s a photo box that can be personalized with children’s fingerprints or handprints, and it makes a wonderful desk accessory for dad’s desk at work.
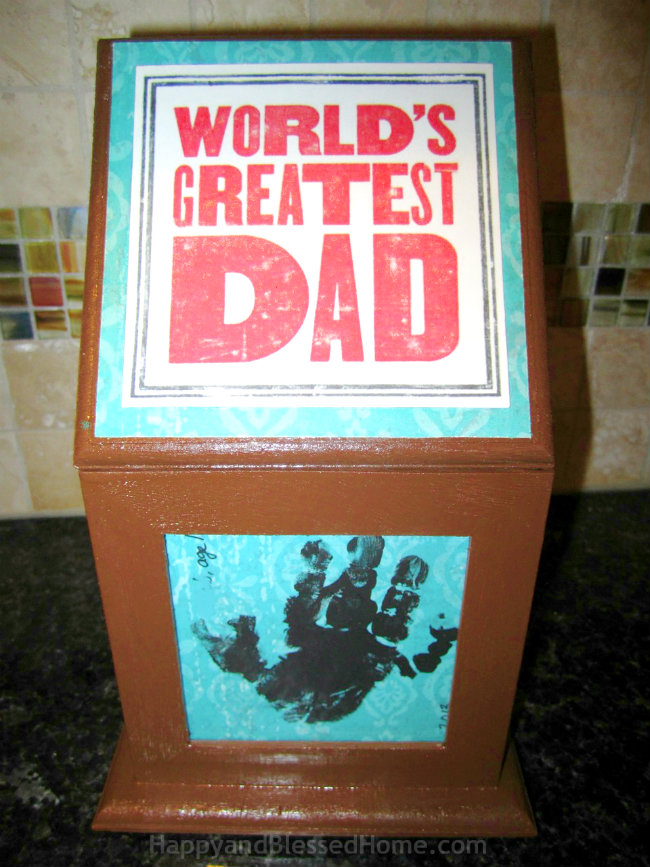
One of my favorite things about this craft was the discovery of these beautiful retro-signs with red and grey lettering from Retro Father’s Day Clip-art Labels. I printed my retro-sign labels onto white card stock. You can choose to use the retro labels or create your own Father’s Day graphic for your Father’s Day photo box. In the photo above, the lid is tilted up to display the artwork.
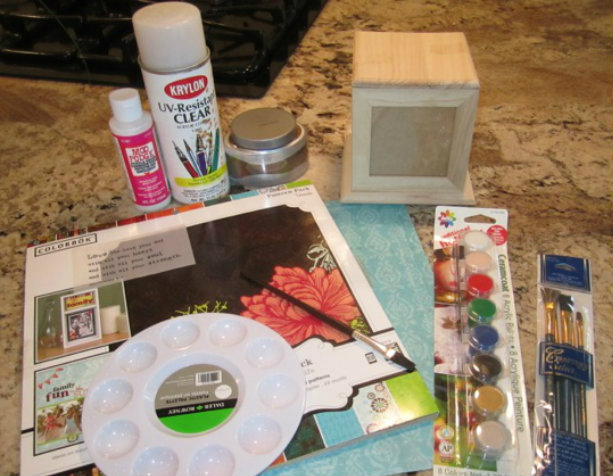
Supplies needed for Father’s Day Wood Photo Box
- Sharpie Marker
- Photo box
- Acrylic Paint
- Paintbrushes
- Paint Tray
- Mod Podge
- Brown Paint
- Scissors and/or Paper cutter
- Krylon Polyurethane Spray-on Clear Coat
- Printed Labels (Retro Father’s Day Clip-art Labels)
- Colorful Scrapbooking Paper for the handprints and label background
All of these supplies can be purchased online at Amazon or your local craft store or Walmart. Affiliate links included for your convenience.
Directions to create Father’s Day Wood Photo Box
Step 1: Disassemble your Photo Box
You want to remove the glass and backer-boards from the photo box.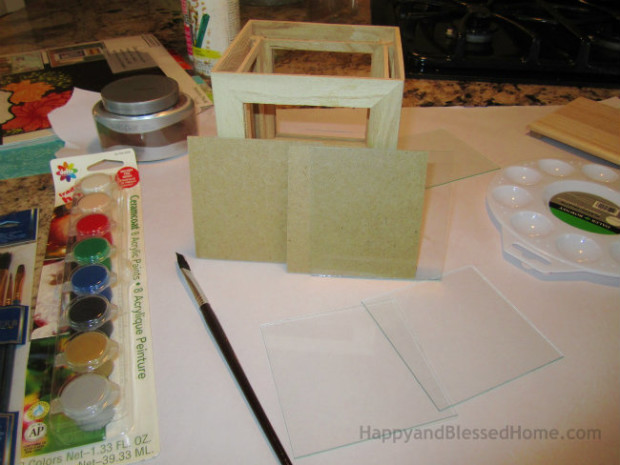
Step 2: Paint your Photo Box
I used sample paint in a brown color from Valspar. You can select any color and have a sample size of paint created at any Home Depot or Lowe’s store. I painted all four sides as well as any exposed frame. I also painted the lid on both sides. 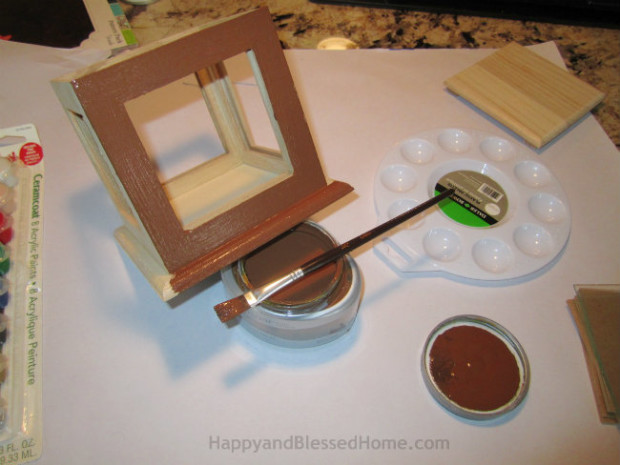
Step 3: Trace and Cut Paper for Handprints
I used the backer-boards from the photo box to trace a square shape onto the backside of the scrapbooking paper that I liked. I cut the paper into square shapes. Using a small paintbrush, I painted my children’s hands with black acrylic paint and pressed their hands onto the square pieces of scrapbooking paper.
I highly recommend capturing children’s handprints one child at a time. Also, keep some paper towels close by. Be sure to have a wet paper towel and a dry paper towel to clean your child’s hand immediately after making the print. Acrylic paint may or may not come out of clothing or be cleaned from other surfaces. Use with caution. You can try a washable paint, but I find that the acrylic makes a nice crisp print that dries quickly. I used a black Sharpie marker to write each child’s name and age next to their handprint.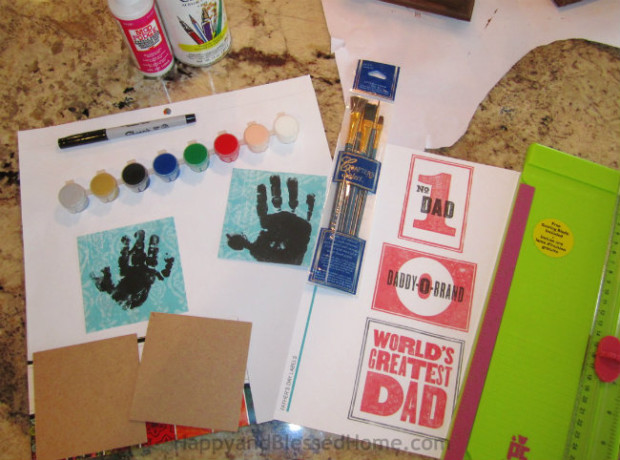
Step 4: Cut your Retro Labels
To create the final product you see at the top of this tutorial, you should be able to print “The World’s Greatest Dad” without needing to resize anything. To create the extra signage that you see on the sides of the box, you’ll need to resize the printables and print them at 40%. I just adjusted the size on my printer settings to 40%. Feel free to play around with the printables until you get them the size that works for your project. To cut the labels I used a paper cutter. You can also use scissors.
To create the blue frame around the “World’s Greatest Dad” label on the lid of the box, I traced the outside of the lid onto the backside of my scrapbooking paper. Then I traced the label centered inside of that. I then picked a distance between the two and drew a third box using a straight edge which would be the cut line for my paper boarder “frame” around the label. I cut the blue piece of scrapbooking paper and trimmed as needed to make it fit the box lid.
When in doubt, always perform a dry fit before you glue anything. This will ensure a perfect fit. 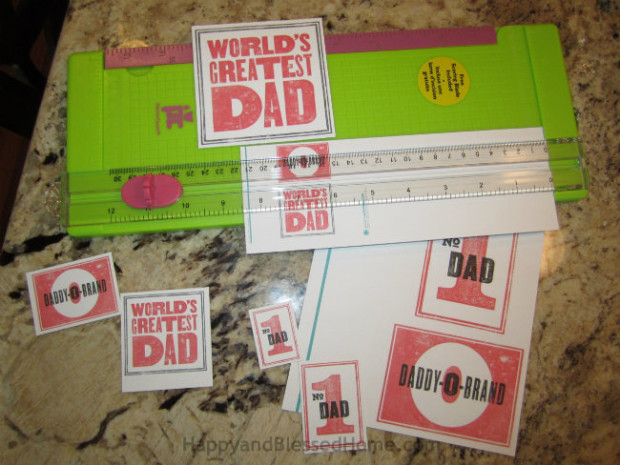
Step 5: Mod Podge your labels to the Photo Box
Make sure your photo box is dry. Brush mod podge onto the back of the scrapbooking paper and secure it to the box lid. Use your hands to press out any air bubbles. Mod podge dries clear so don’t be afraid to use it generously. Do the same thing to the “World’s Greatest Dad” label and center and secure it on top of the scrapbooking paper. 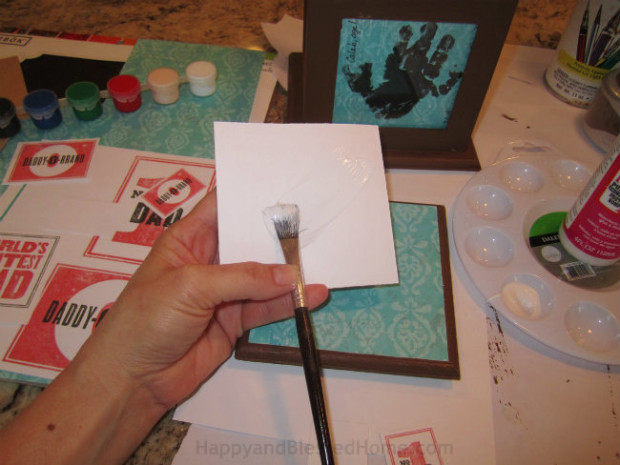
For the labels on the sides of the box, cut an extra piece of white card stock in the exact same size as the existing labels and used mod podge to glue them together. Use mod podge to glue each label into place. This will give the side labels that extra sturdiness that will be needed.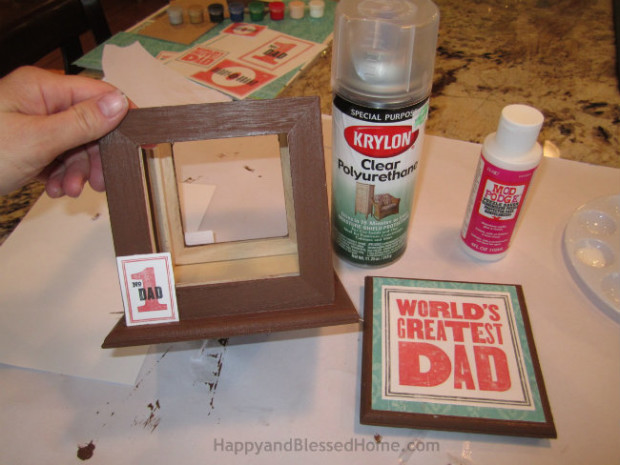
Step 6: Once Dry, Spray your Box
The final touch is a coat of clear polyurethane to protect your project. The Krylon I used had a full-flow spray so I only had to barely press the nozzle to release the coating onto my photo box. I coated the lid on both sides and I coated the box from top to bottom to ensure solid protection and sheen.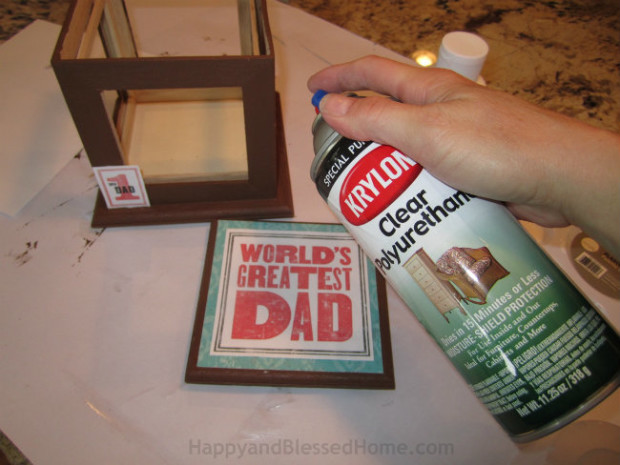
Step 7: Once Dry, Reassemble your Box
It takes awhile for the polyurethane to dry. Follow the instructions for drying times on your can. Once the photo box is dry you can reassemble your photo box. I used photos on two sides and handprints on the other two sides. Feel free to customize your Father’s Day gift for the Father in your life. You may want to paint the box the same colors as his favorite sports team or shirt. You can also include your children in any portion of this craft as long as they are mature enough and have the proper skills. Be creative and have fun.
Have any special plans for Father’s Day?
Do you enjoy making homemade gifts and crafts for special occasions? How do you plan to celebrate Father’s day with your family this year? Please leave a comment below and join the conversation. I love hearing from my readers.
Blog / Facebook / Pinterest / Twitter /Google + / Bloglovin’/ Instagram
P.S. – I blog to encourage moms, offer free preschool tools, and share ideas for family fun. If you enjoy free recipes, printables, crafts and games for little ones, ideas for family fun and encouraging posts for moms, sign up and have Happy and Blessed Home delivered to your inbox. Simply enter your e-mail address here:
If you liked this post on a Wood Photo Box for Father’s Day, you may also like:
|

Big Hero 6 Movie & |
Thanks for being a fan! Do you have a board dedicated to special celebrations or gift ideas Pinterest? Help spread the word and PIN this post on Pinterest!
Originally Published on: May 28, 2015 @ 08:32
