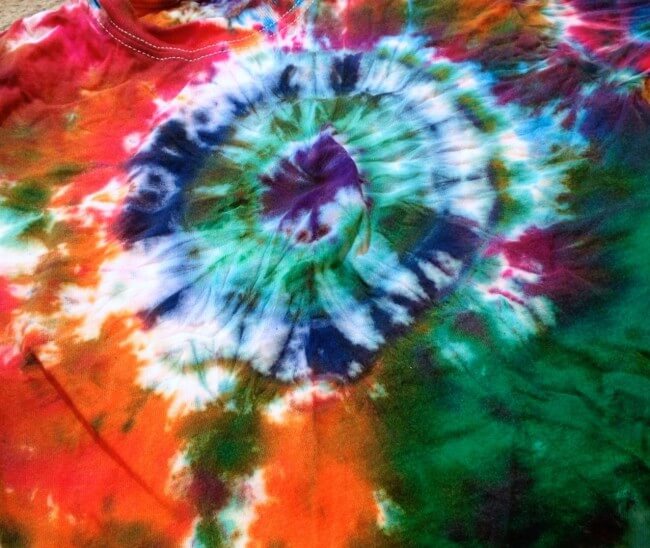
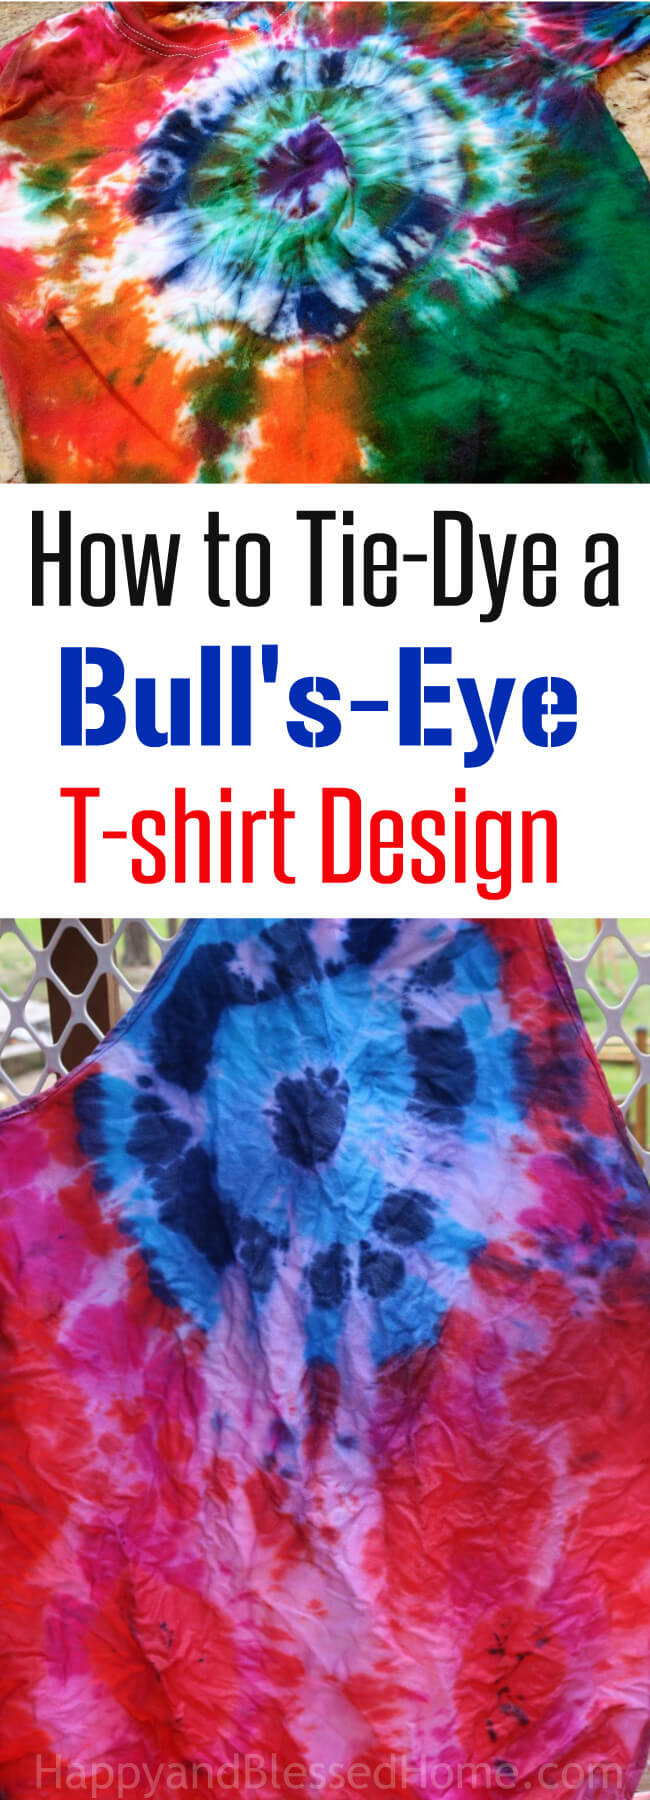
This shop has been compensated by Collective Bias, Inc. and its advertiser. All opinions are mine alone. #EssentialVitamins #CollectiveBias. The boys and I decided to celebrate the start of summer with new tie-dye T-shirts! Here I’m sharing my tutorial on How to Tie-Dye a T-shirt with a Bullseye Design. Tie-Dying T-shirts is fun for the whole family!
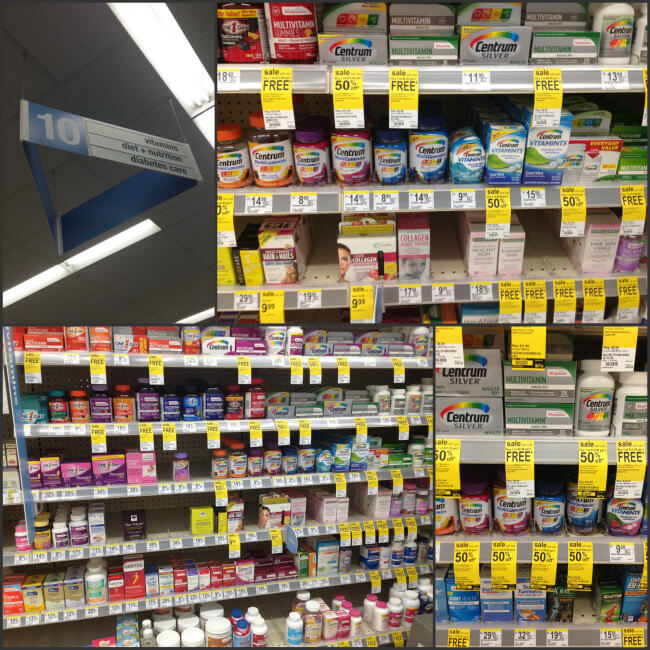
Have you ever been inspired to create something based upon an unexpected discovery? Well this week, I was surprised by my boys when they got very excited by the rainbow colors on the Centrum Vitamins I shopped for at Walgreens.
I often have the boys with me when I go shopping and they love the opportunity to help me take things off the shelves. So they noticed the rainbow colors on the Centrum bottles as soon as I asked them to pick them up. I love creating fun memories with my kids, and the colors inspired me to create some tie-dye garments for us to wear. It’s so easy to do, and my boys could lot wait to tell everyone we met, that we made tie-dye together!
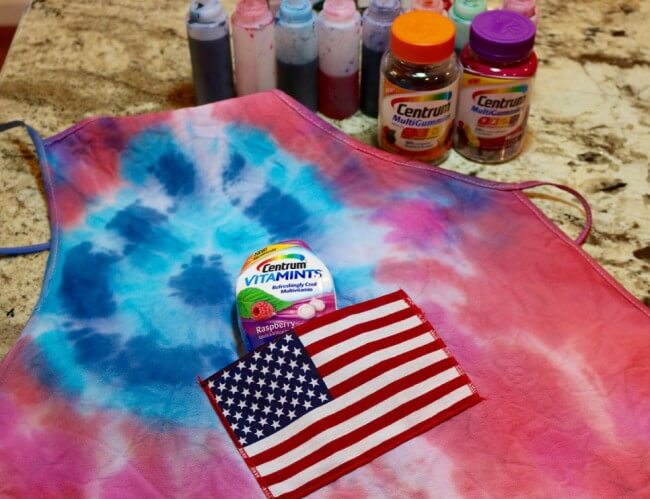
I explained to the boys that we could copy the colors on the Centrum bottles and make fancy T-shirts to wear. They got so excited! I told them we could make tie-dye T-shirts, and I was looking for a patriotic apron, so together we picked out some supplies to create new, colorful, and fun crafts!
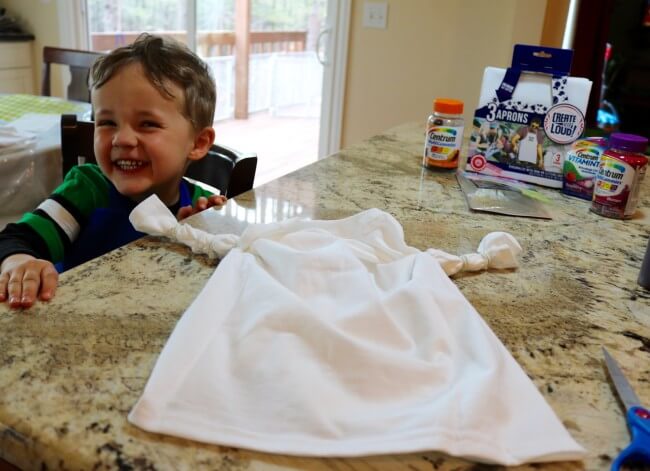
This is my little helper. He was over the moon with this tie-dye project.
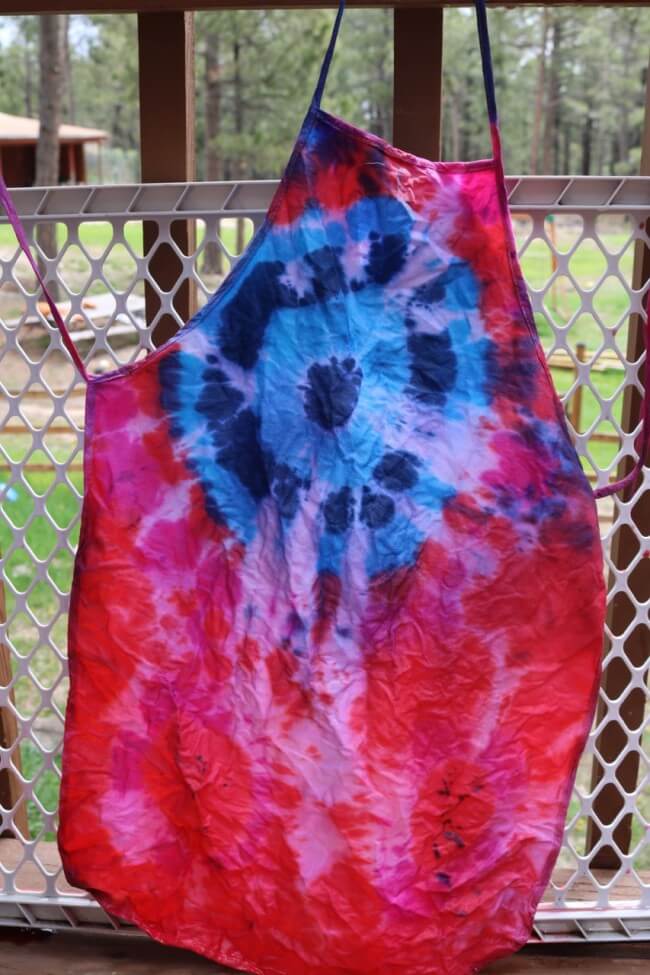
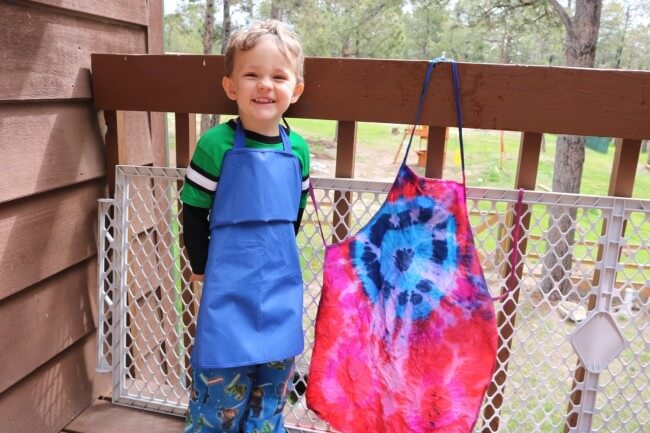 Success: How to Tie-Dye a Bull’s-Eye Design
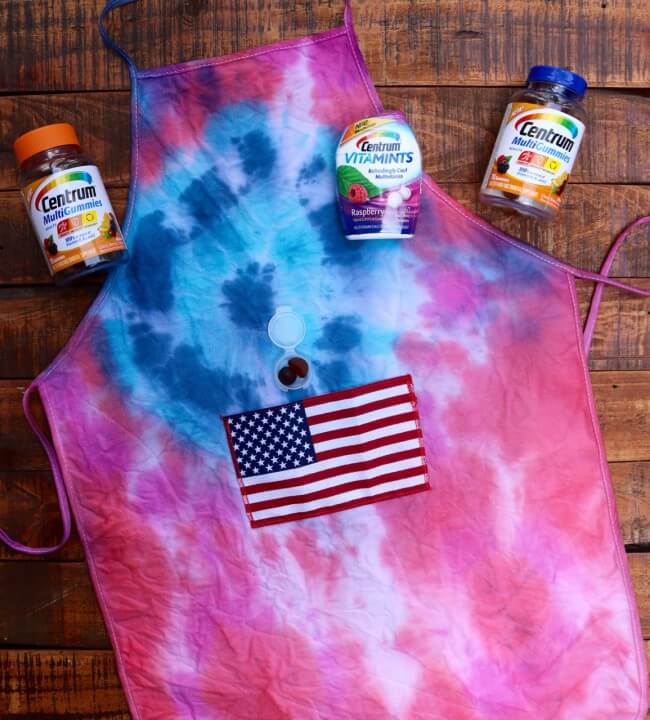
I succeeded in creating an apron with a “bullseye” design and I made it even more patriotic with a small American flag that I sewed on as a pocket. Plus, it warms my heart to know that with every purchase of vitamins or supplements our family makes, Walgreens will make a donation to Vitamin Angels.
What is Vitamin Angels?
Vitamin Angels helps at-risk populations in need – specifically pregnant women, new mothers, and children under five – gain access to life changing vitamins and minerals. Malnutrition is the #1 cause of preventable child deaths in many foreign countries, but supporters of Vitamin Angels have the power to save lives. Vitamin Angels is reaching more than 48 million children and mothers in need in over 50 countries worldwide. Walgreens will make a donation to Vitamin Angels for every purchase of vitamins or supplements.
Tutorial: How to Tie-Dye a T-shirt with a Bullseye Design
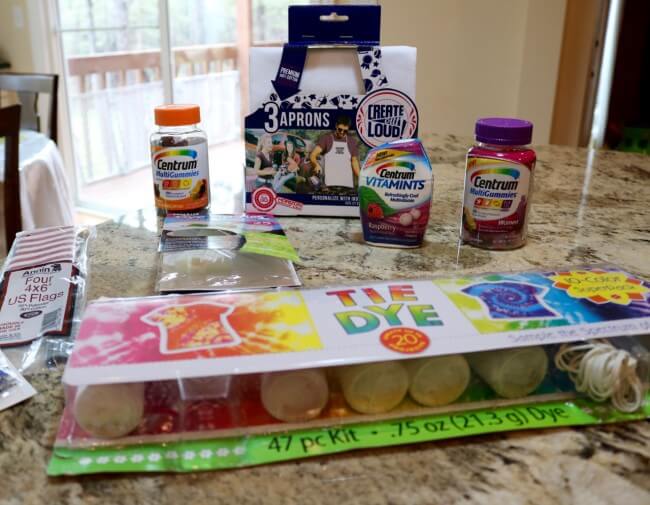
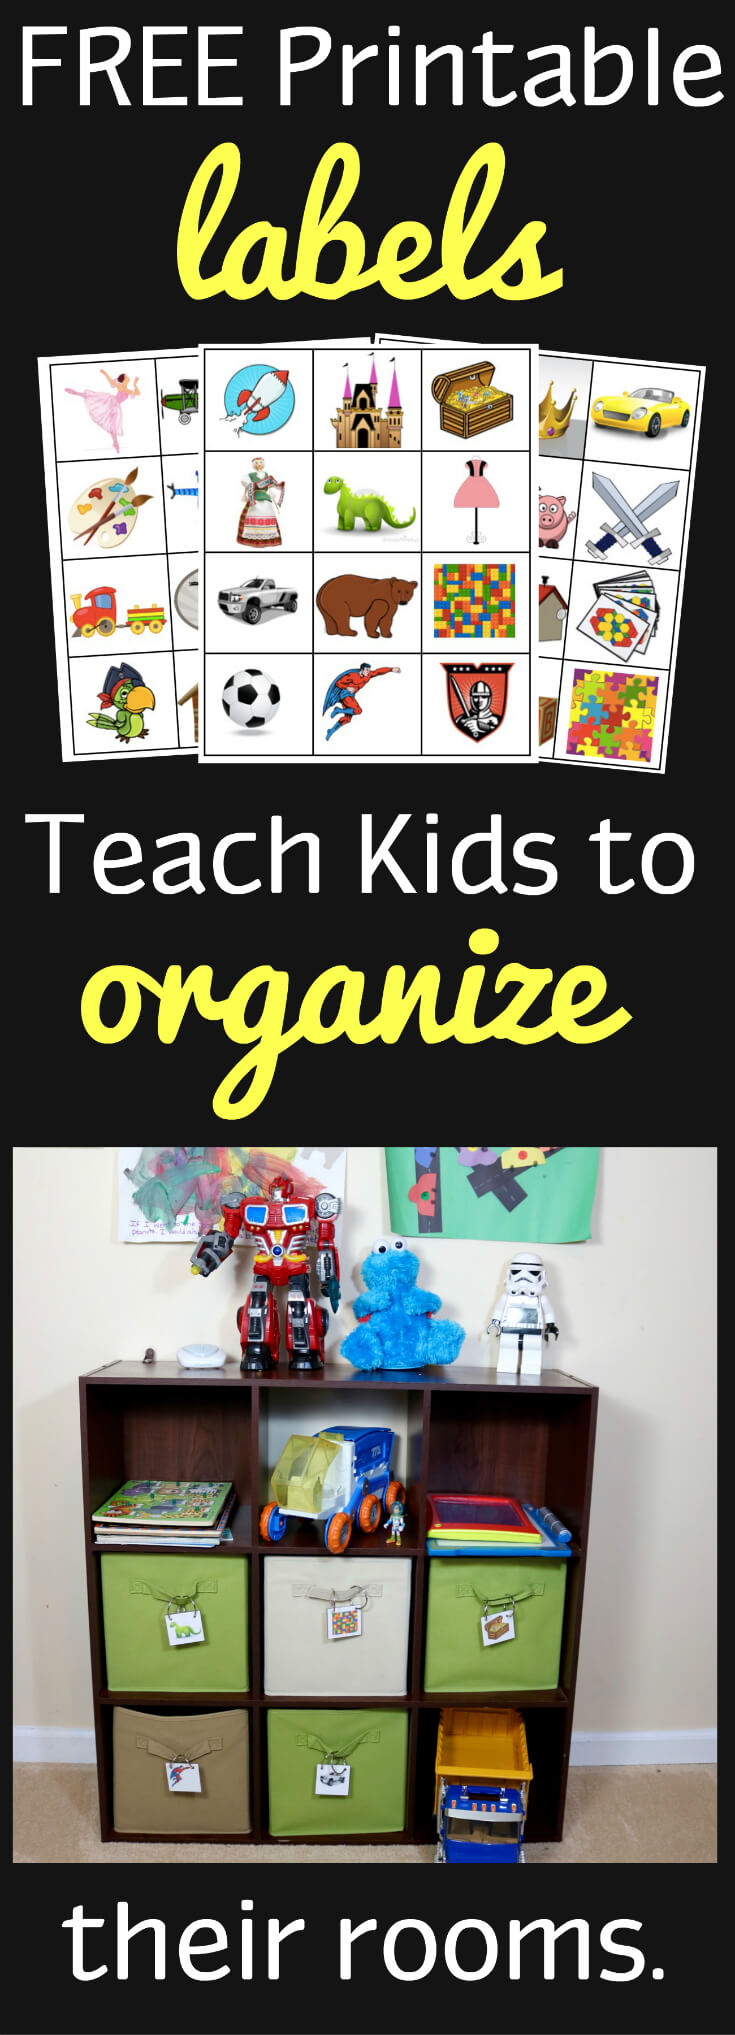
Tie-dying is easier than you think when you have the right materials. Using our Cenrtum bottles as a jumping off point for color inspiration, the boys and I set about tie-dying T-shirts and an apron using the following materials:
Materials for Tie-Dyeing a T-Shirt
- 1 – Multi-Color Tie-Dye Kit
- 1 – White Cotton T-shirt or Apron
- 1 Package of extra tie-dye zip ties
- 1 Set of heavy duty gloves – the ones that comes with the kit are flimsy
- Apron pocket made from 4″ x 6″ US Flag
Links to my recommended tie-dye materials on Amazon will open in a new window.
Inspiration taken from:
- Centrum MultiGummies (70ct) and
- Centrum Vitamints New Raspberry Flavor (60ct)
Directions for Tie-Dyeing a T-Shirt with a Bullseye Design
Step 1: Gather your materials. Use a clean white cotton shirt or apron for this project.
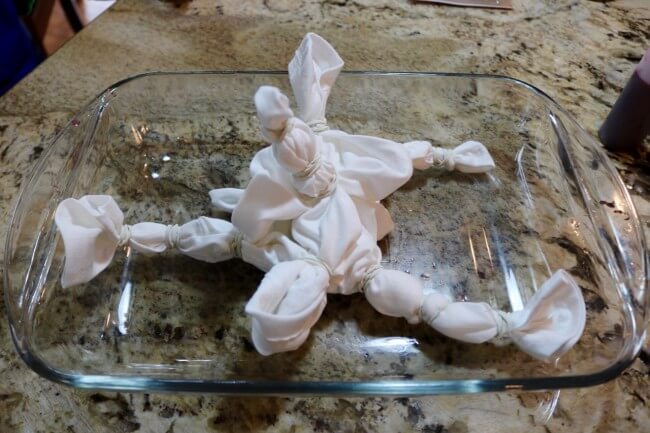
Step 2: Decide where you want the bullseye to appear. The first place that you gather and tie down fabric will be the center of your bullseye. You can use the rubber bands in the kit or use zip ties to gather the fabric and tie it tight. If you’re using a T-shirt, remember to separate the front and back layers. If you keep them together the dye may not penetrate the fabric.
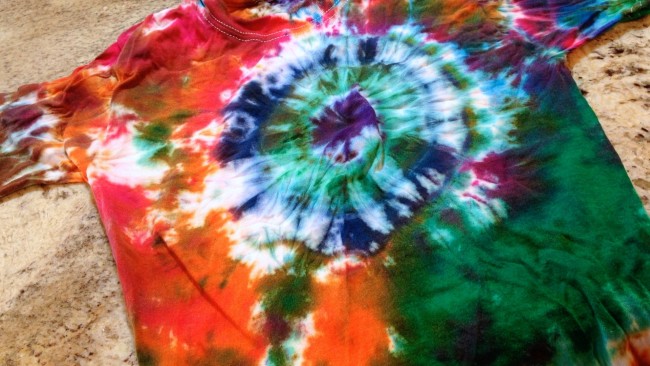
Step 3: The first gathering point becomes the “center” of the bullseye. Each gather beyond it becomes a circle around the bullseye. If you like “white” try not to soak the fabric and just “color” with with the dye. Create multiple locations for bullseyes and gather up all the fabric that you can in concentric circles. I used the sleeves, the center of the T-shirt, and the back to create patterns.
Step 4: We used a pre-assembled kit for our tie-dye project. Each plastic bottle included a colored powder for the dye. All I had to do was add water and shake the bottle to mix in all the powder.
An easy way to let kids get involved in this tie-dye project is to let them shake the bottle, with the lid on top, to mix the powered paint and water. You can also put gloves on the child’s hands so they can take part in pouring the die onto the garment you are dyeing.
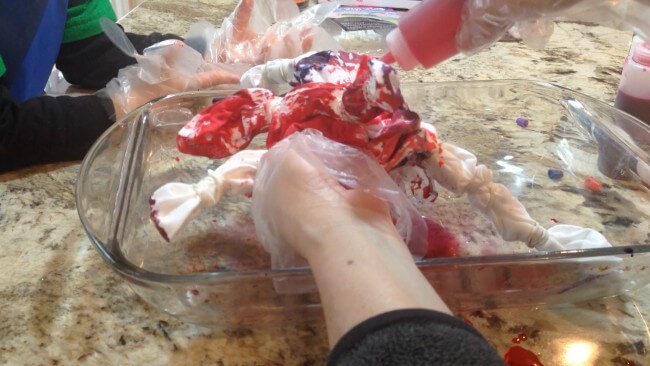
The bottles made the perfect applicators. I just squirted a bit of the dye color on each section and varied the colors. I used my gloved hand to massage in the color and voila’, tie-dye bullseye color!
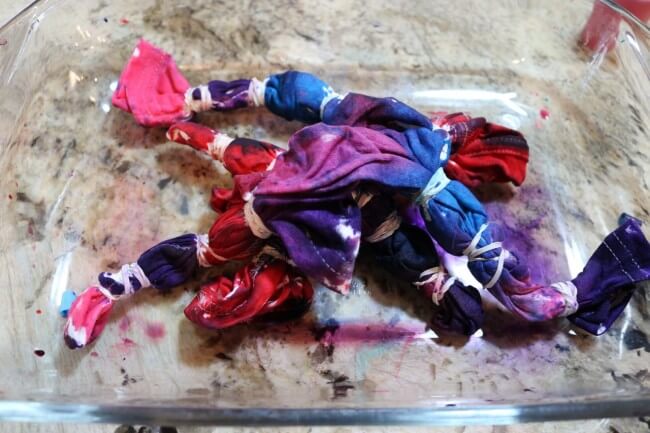
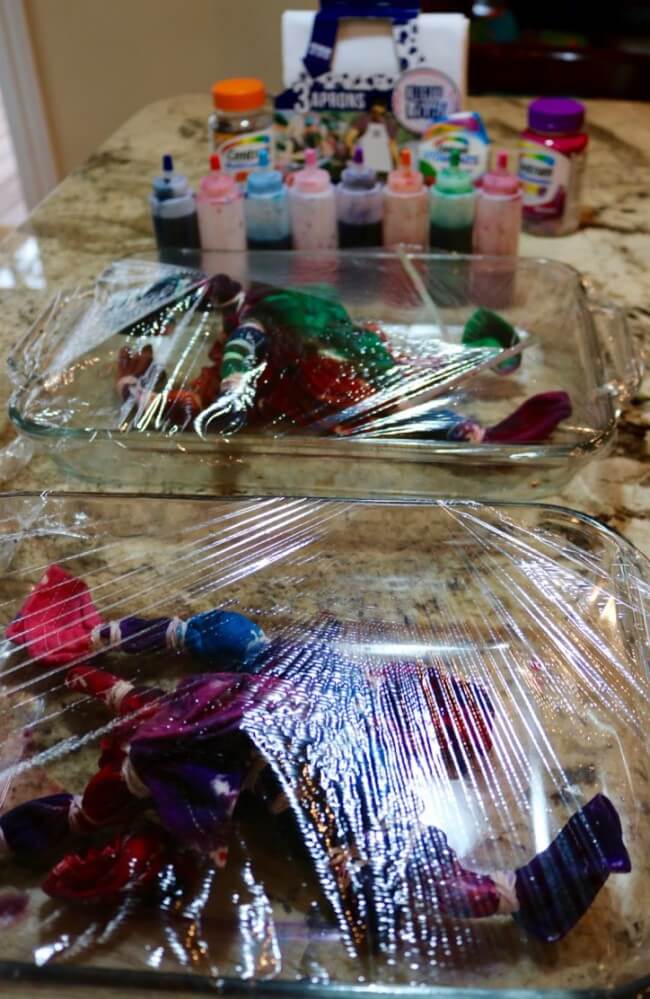
Step 5: Cover the T-shirt in plastic wrap and let it sit for a day or two. The longer it sits, the more intense the color.
Step 6: Rinse the tie-dye out in a bath tub or washroom sink. Keep rinsing until the water comes clean.
Step 7: Wring out the garment and hang to dry. You can also wash these in the washer on a gentle cycle in cold water.
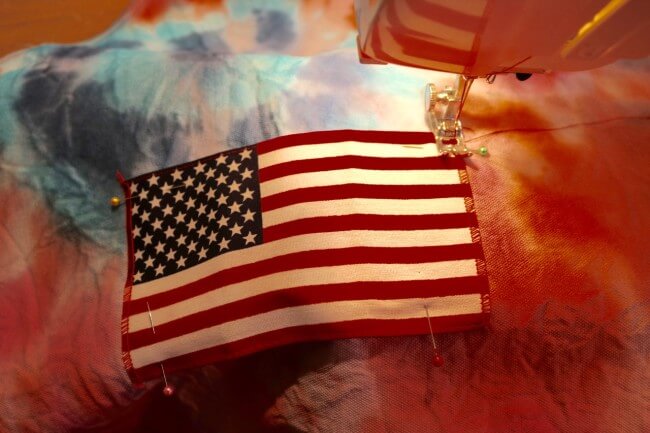
Step 8: Add extras. If you want to add a pocket or embellishments, just tumble the garment to dry in a dryer for a few minutes and iron to ensure a smooth fabric.
Use a needle and thread or a sewing machine to secure pockets, flags and other embellishments to your tie-dye creation.
Wear your Tie-Dye with Pride
The older my boys get, the more energy they seem to have. Getting them to stand still for a picture isn’t easy, but we managed to get this quick pic while sporting our new tie-dye gear.
Change Lives Everywhere with Centrum Vitamins from Walgreens
The new Raspberry flavored Vitamints at Walgreens taste great and are perfect for busy moms like me who are always on the go. Plus, it feels great to partner with Vitamin Angels and change lives everywhere for the better. Through the Vitamin Angels program Walgreens will make a donation to Vitamin Angels with every vitamin purchase.
You can find Centrum MultiGummies (70ct) and Centrum Vitamints New Raspberry Flavor (60ct) at Walgreens. Just look for the Vitamins aisle.
How do you kick off summer?
Have any special crafts or activities planned with your kids to kick off summer? I’d love to hear your fun ideas! Please leave a comment below and join the conversation. I love hearing from my readers!
Blog / Facebook / Pinterest / Twitter /Google + / Bloglovin’/ Instagram/ YouTube
P.S. – I blog to encourage moms, offer free preschool tools, and share ideas for family fun. If you enjoy free recipes, printables, crafts and games for little ones, ideas for family fun and encouraging posts for moms, sign up and have Happy and Blessed Home delivered to your inbox. Simply enter your e-mail address here:
Thanks for being a fan! Do you have a board for DIY Projects or Summer Fun on Pinterest? Help spread the word and PIN this post on Pinterest!
*These statements have not been evaluated by the food and drug administration. This product is not intended to diagnose, treat, cure or prevent any disease.
